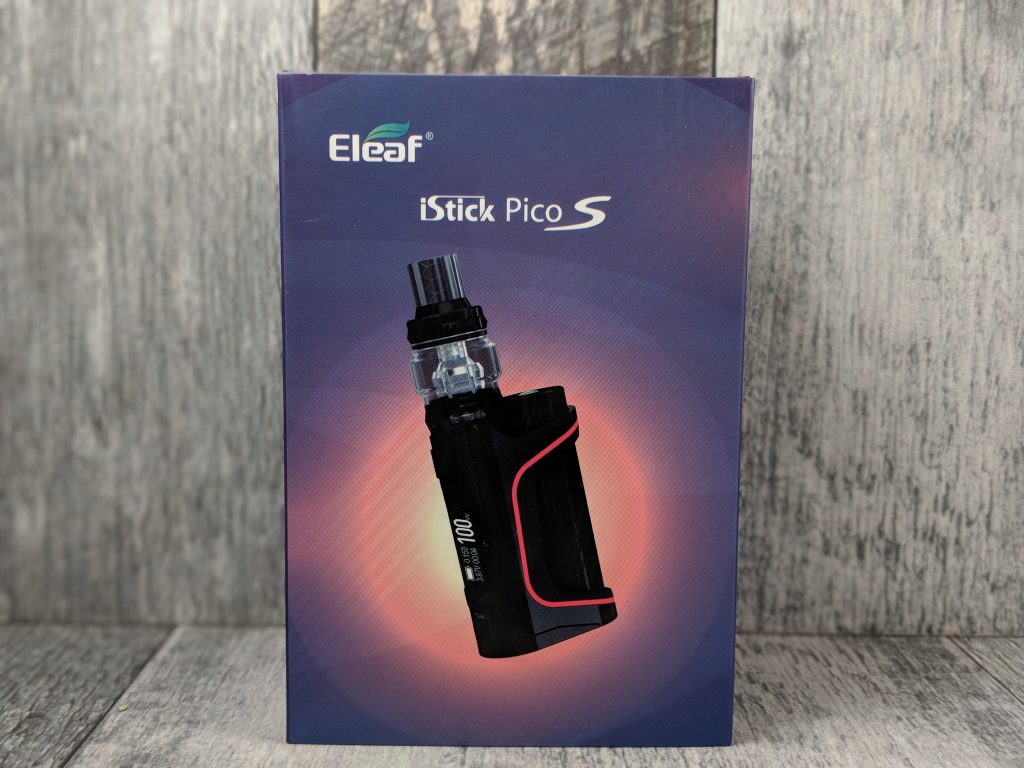
I’ve long been a fan of the Pico series from Eleaf. They’re known for having a unique offset design that helps keep them nice and compact by placing the battery off to one side while the tank sits a bit lower on the other side, often referred to as a side-by-side. The original iStick Pico was actually one of my very first hardware reviews and believe it or not I’m still using it years later. I’ve since collected a few other members of the iStick Pico family and have equally enjoyed them as well. This latest iteration of the Pico however has undergone a drastic overhaul, at least cosmetically but still retains the unique offset design that made the original famous as well as all of the functions and features of the previous Pico 21700 with a few notable extras. Here are my honest thoughts on the iStick Pico S sent over from Eleaf.
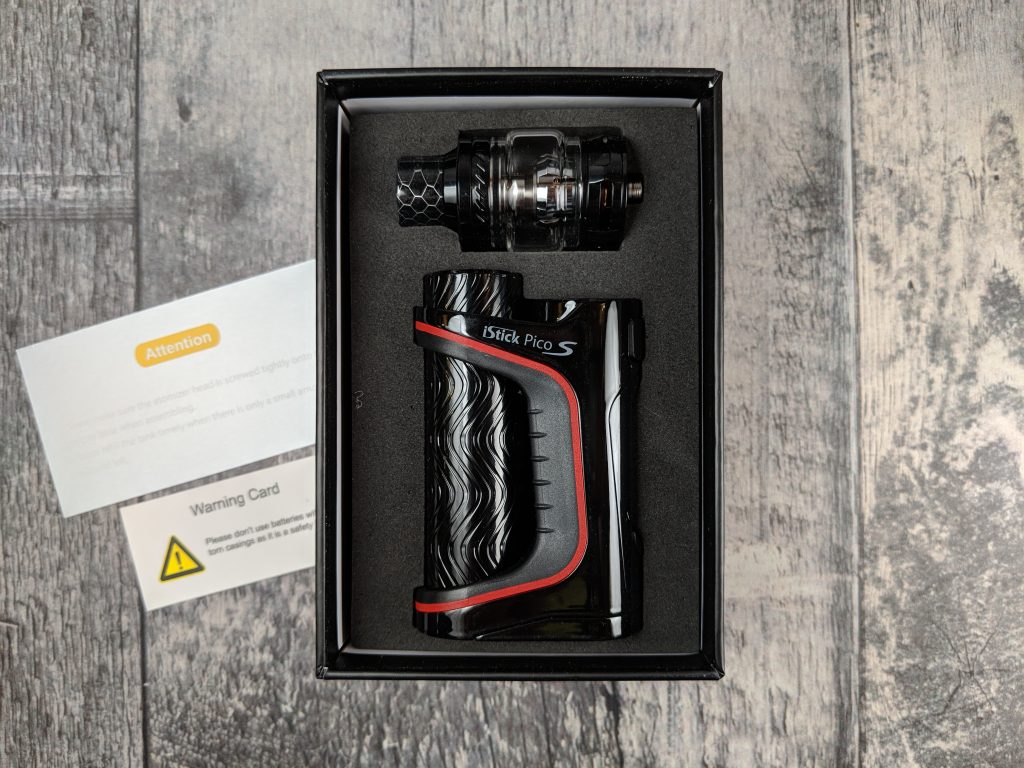
Package contents:
| Item | Quantity |
|---|---|
| iStick Pico S | 1 |
| ELLO VATE (6.5ml / 2ml) | 1 |
| HW-N 0.2ohm Head | 1 |
| Avatar AVB 21700 (optional) | 1 |
| HW-M 0.15ohm Head | 1 |
| QC USB Cable | 1 |
| User Manuals | 2 |
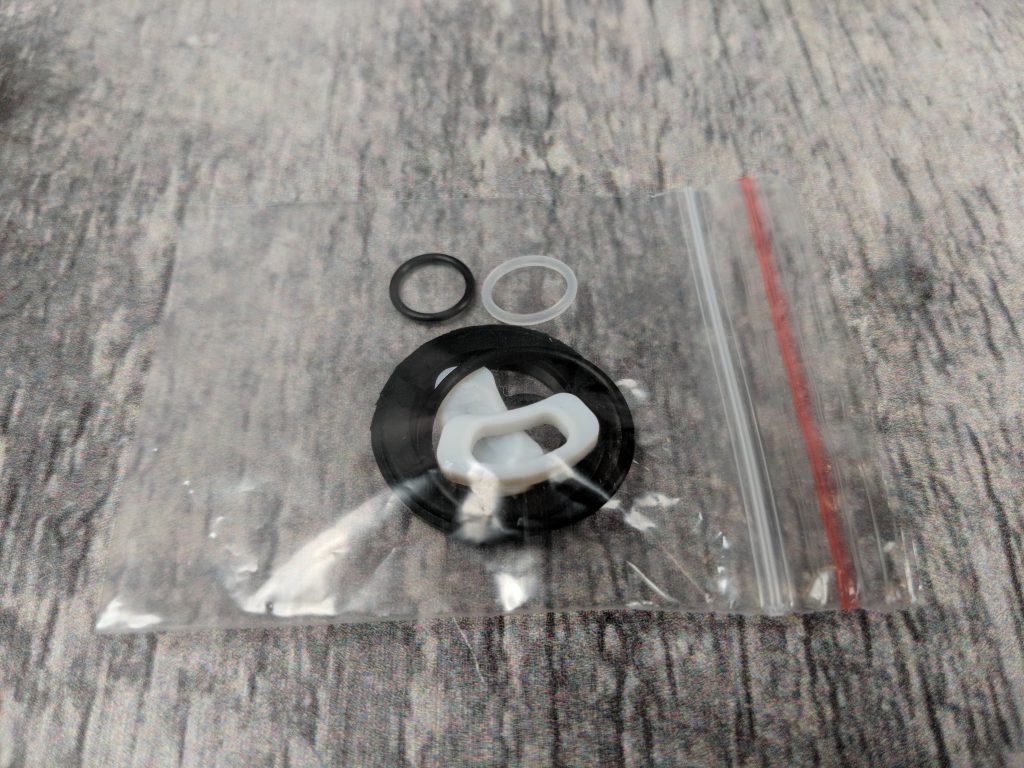
| Spare Parts | 1 |
Listed features and specs:
- Size: 52.5mm*28.5mm*128mm (6.5ml version)
- 52.5mm*28.5mm*120mm (2ml EU version)
- Weight: 198.7g (6.5ml version, without cell)
- 192.9g (2ml EU version, without cell)
- E-liquid capacity: 6.5ml / 2ml
- Battery type: 21700 / 18650
- Output wattage: 100W max
- Output voltage: 0.5V-9V
- Resistance range: 0.05Ω-3.0Ω (VW/Bypass mode)
- 0.05Ω-1.5Ω (TC-Ni/Ti/SS/M1/M2/M3 mode)
- Colors: red, black, white, silver, dazzling, blue
The Pico S Mod:
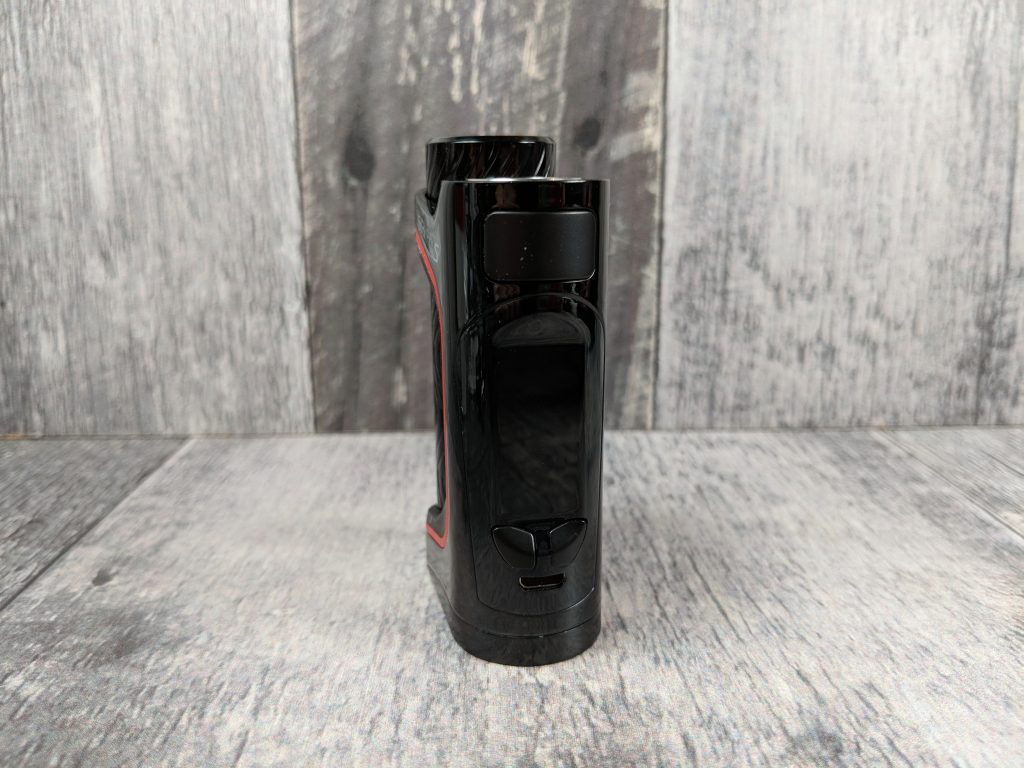
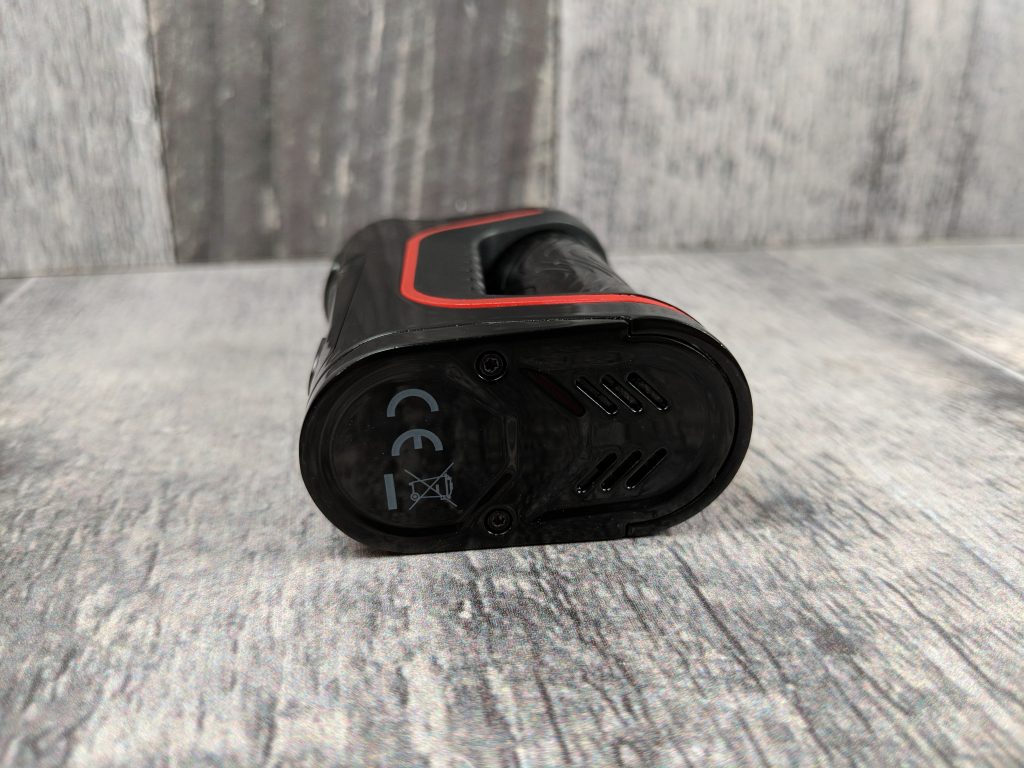
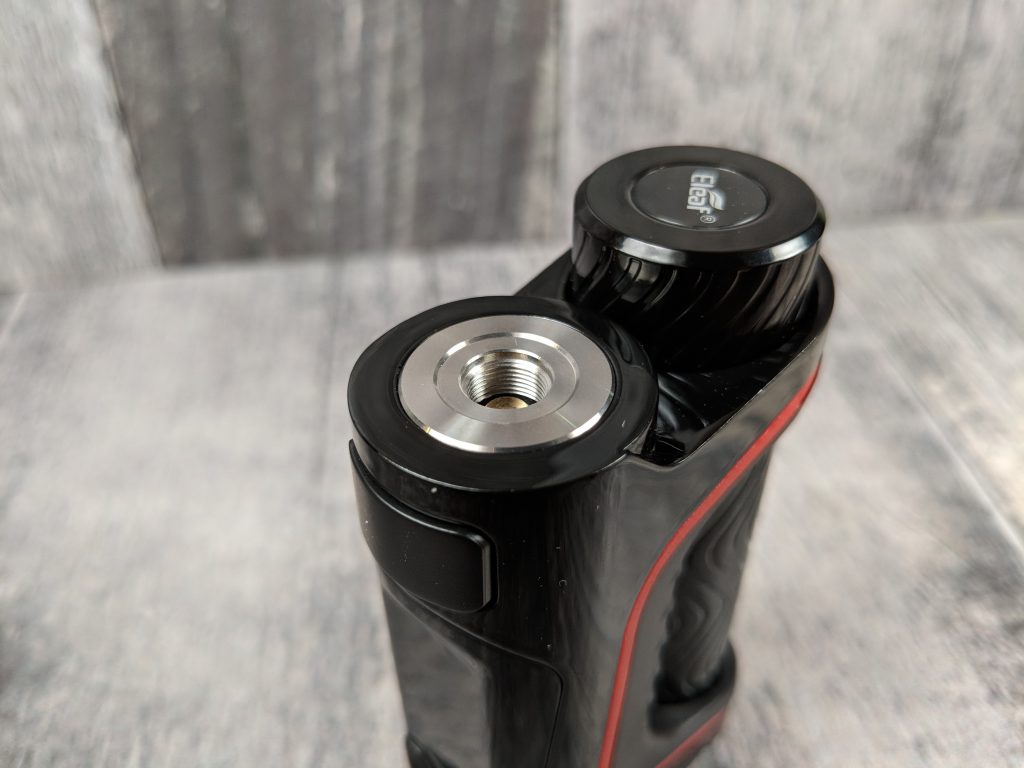
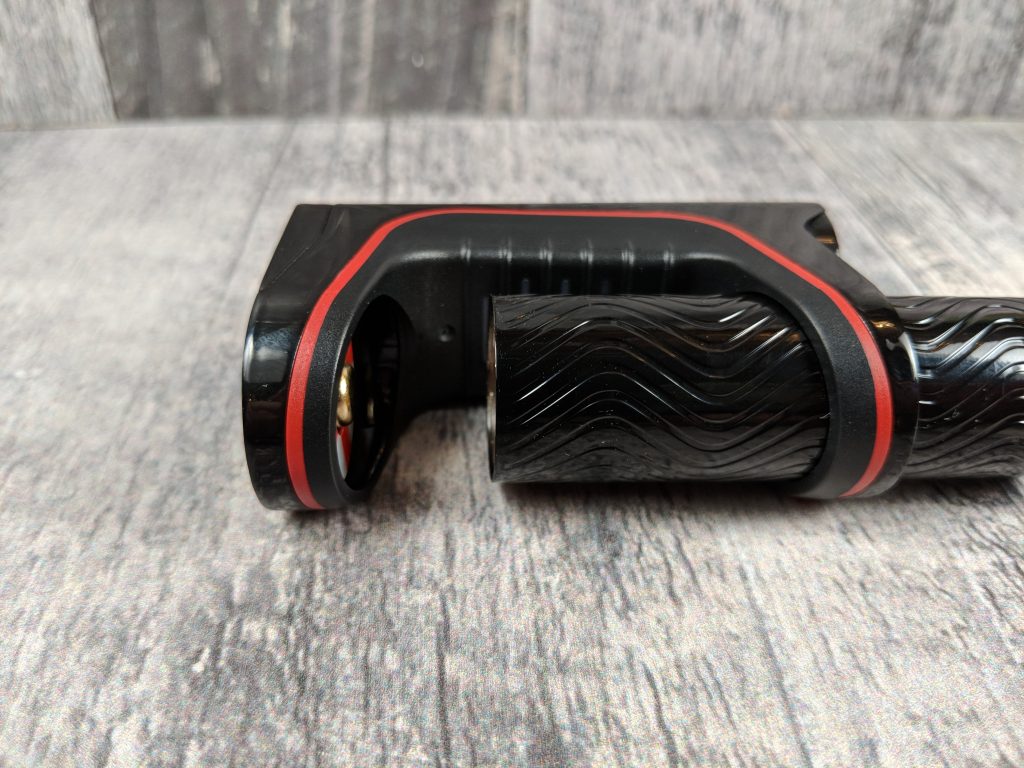
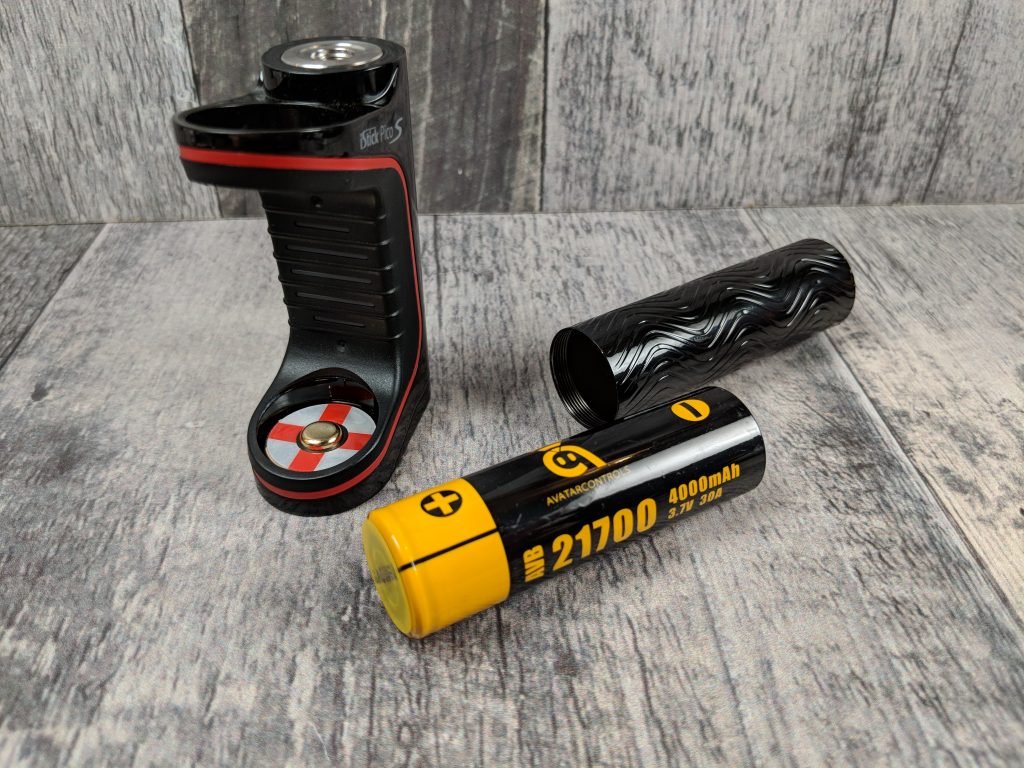
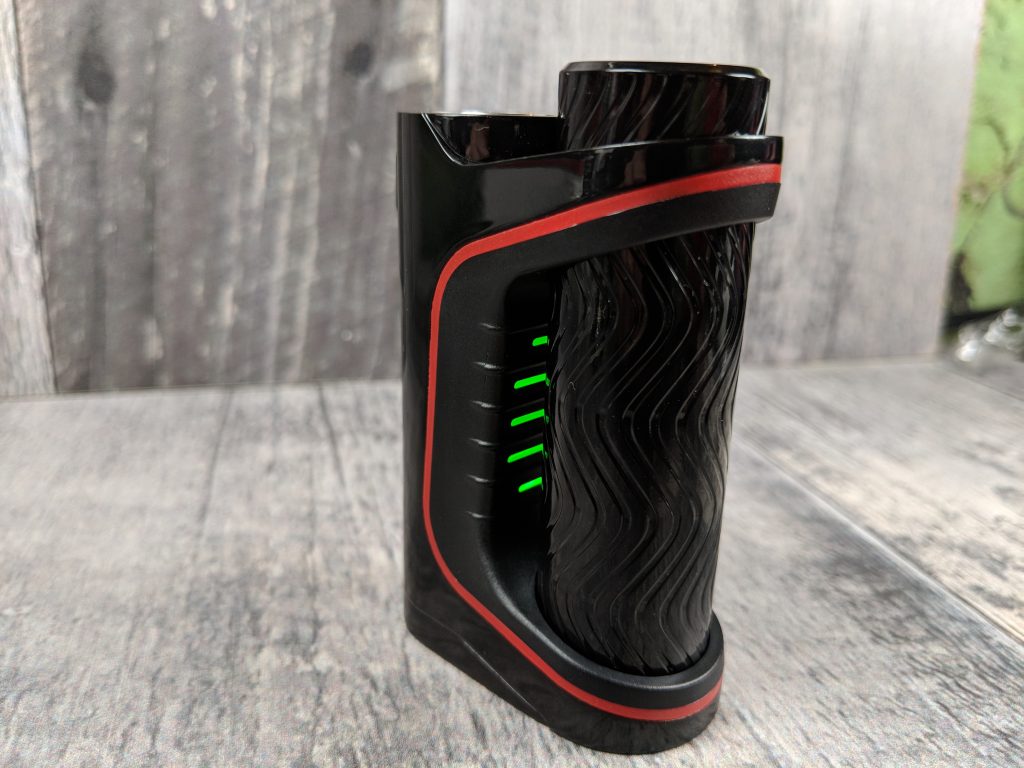
As I mentioned above I’ve long been a fan of the Pico series of mods with their offset side by side configuration that makes them so unique. The Pico S is the latest in the line which has had no less then six revisions I believe, eight or so if you include the resin versions of some of them and boy has it come a long way. It still bears the offset battery to help alleviate any unnecessary height but has grown considerably since it’s first iteration of the original Pico mod. Probably the most notable change is with the construction of the mods body as it now has a nearly completely exposed battery tube where before the battery was mostly hidden within the main body of the mod and had just a battery cap being exposed. It’s also heavily stylized with nearly every aspect of the original having undergone an overhaul. Now the battery tube itself can be unscrewed to replace the mods battery which now uses 21700 batteries much like the Pico 21700 that came out the tail end of last year. In fact not much else has changed from the Pico 21700 aside from a drastic redesign of the body. It’s a little bit bigger but much sleeker and stylish now with a lot of the excess metal stripped away!
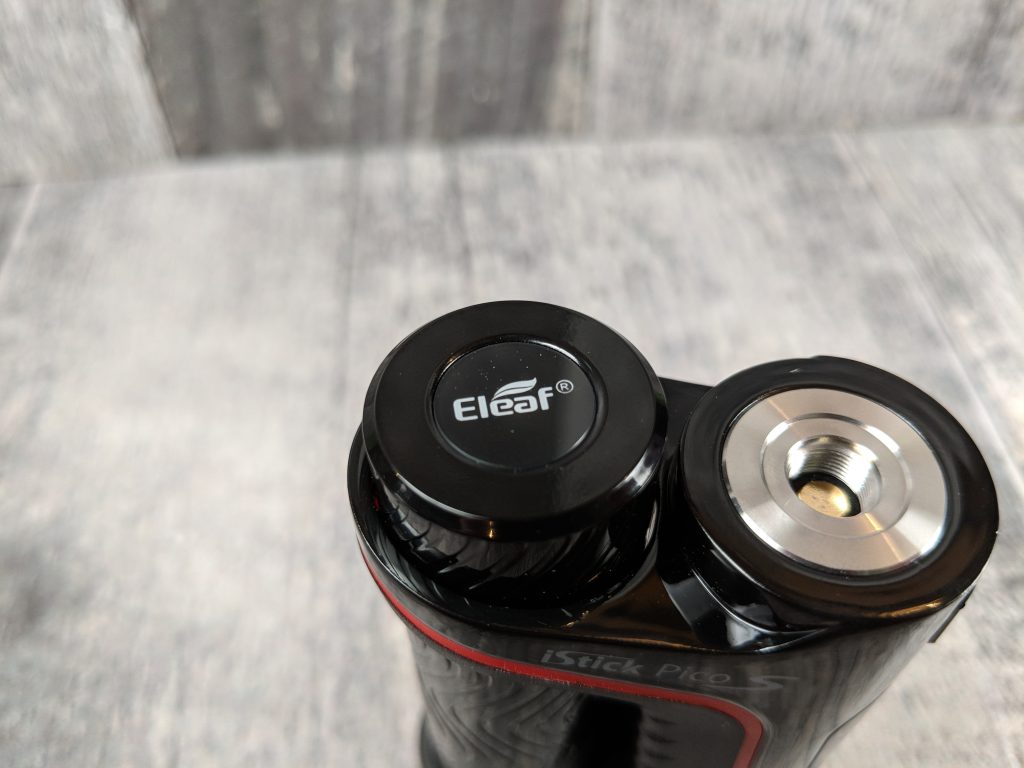
At the top it looks like it still bears the protruding cap for the battery but now the entire tube that contains the battery can be removed and not just a cap which is branded with ‘Eleaf’. I found installing a new battery requires you to push down while screwing it in which somewhat increases the chance of cross-threading. It hasn’t happened to me yet but it’s something I’ve been very conscious of when replacing the battery. The device supports 21700 batteries out of the box and includes an 18650 battery adapter if you prefer to use 18650s. Right next to the battery tube at the top is the stainless steel threaded 510 connection. It’s got a spring loaded 510 center pin that appears to be gold plated with plenty of travel and all of the atties I’ve tried on it sat flush. The top of the mod supports atomizers up to 26.5mm without overhang but really doesn’t leave any room for anything bigger. The included tank however sits perfectly in line with the mods shape and size.
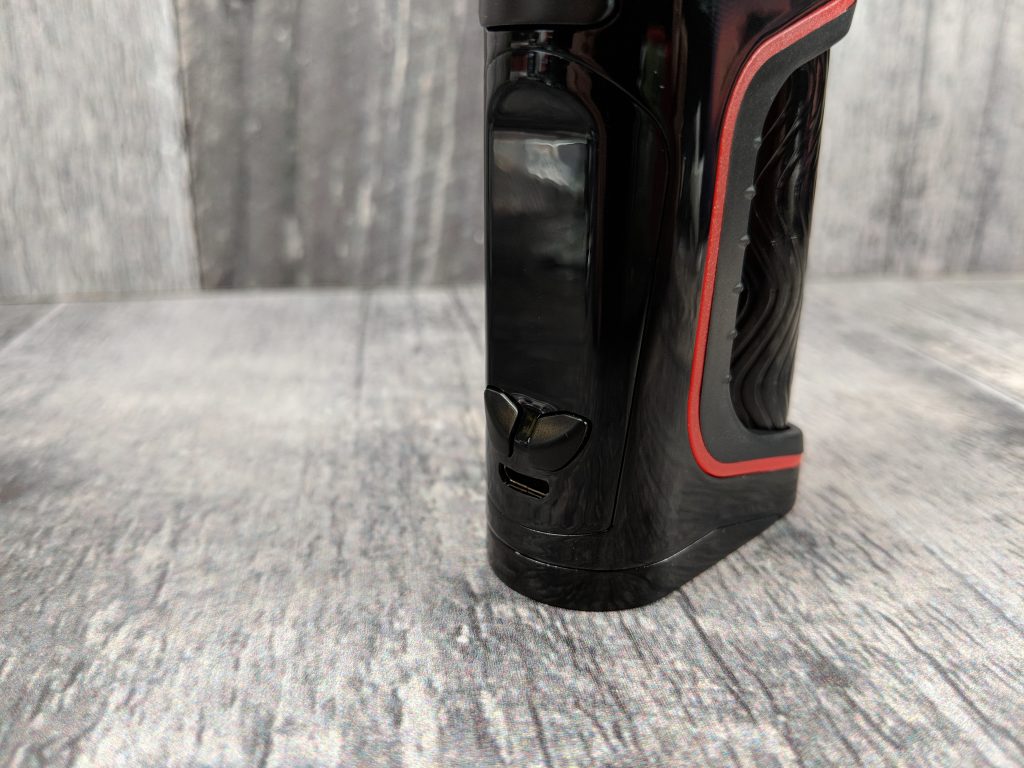
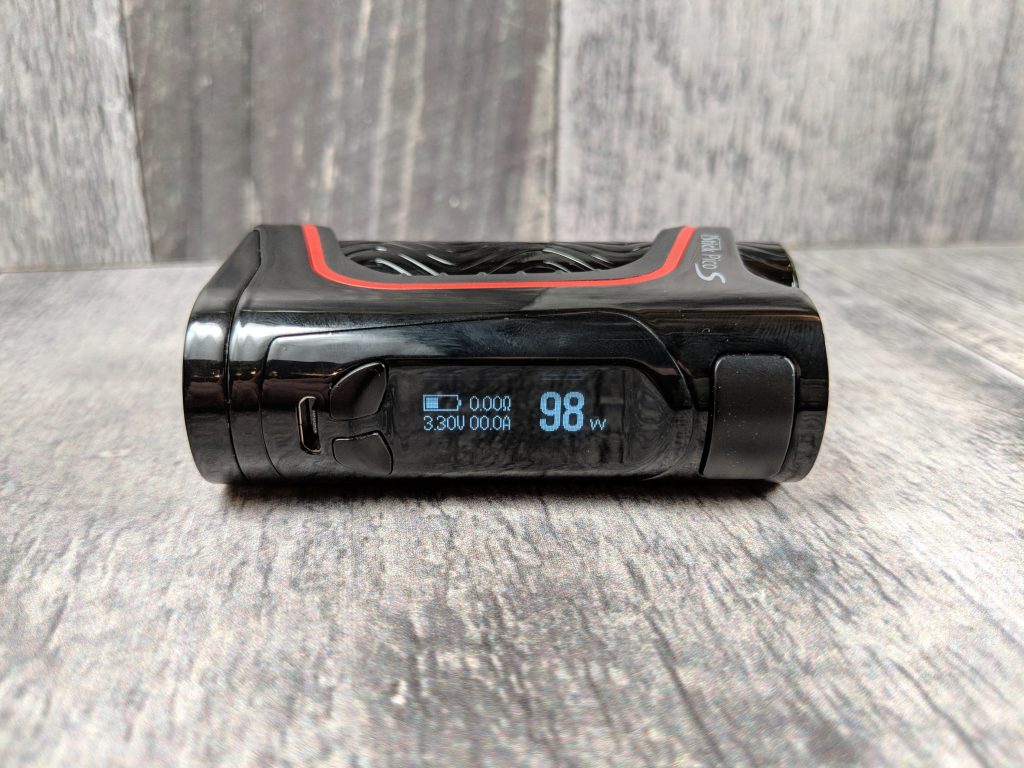
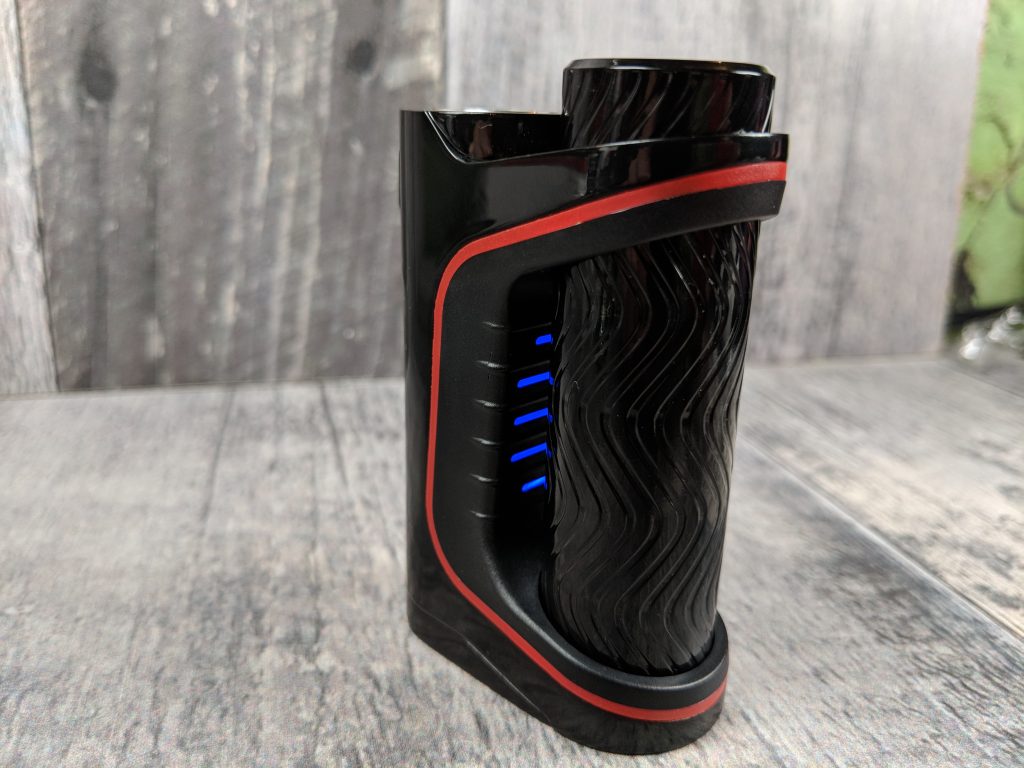
Down the face of the mod it’s got a bright black and white screen but I couldn’t find it posted anywhere what type of screen it is. It’s fairly bright and for the most part is visible in sunlight but there also doesn’t seem to be any brightness adjustment on the device. Above the screen is a large rounded plastic fire button that has a decent click to it and zero rattle. Down below the screen are the two adjustment buttons which sort of meld in to the shape of the device. They both also work well without any noticeable rattle or anything. At the very bottom of the face is the micro USB port for both charging and firmware updates. No mention on their site of any fast charge and as of the time of this article was written no firmware updates have been made available. Around the back where the battery sits there’s a little grid pattern that lights up when firing or charging. You can chose what colour it flashes or turn it off if that’s not your thing. The included colours are red, green, blue, cyan, white, yellow, and purple and by default it cycles through a pattern of green, blue and red. It’s not as flashy as some mods out there but definitely adds a little flare.
Aside from these new features the mod is extremely similar to the previous Pico 21700 I reviewed not long ago with all of the same features and functions included but with one new submenu for the LED light show on the back. To turn the device on and off it uses 5 clicks of the fire button. To cycle through the various modes you click the fire button 3 times which admittedly can be a bit annoying. The mod includes Power or wattage mode, Bypass mode which just uses power directly from your battery without regulation, TC support for Ni, Ti, SS and 3 mem slots for TCR. If you’re in a TC mode 4 clicks of the fire button allows you to adjust the wattage instead of temperature. From any mode pressing and holding + and fire brings you in to the sub-menu. The options will vary slightly depending on the mode you are in.
- If you’re in power mode, the sub-menu options include SubParams(what I’m calling it), Stealth mode, Preheat, Logo, LED, Version and Battery.
- If in a TC mode, the sub-menu will include Lock/unlock resistance, SubParams, Stealth mode, Logo, LED, Version and Battery.
- If in TCR mode the sub-menu will include Lock/unlock resistance, SubParams, M1-3 settings, Stealth mode, Logo, LED, Version and Battery.
The SubParams menu keeps track of your puff count, puff time and Amps only on the live screen. Whatever is selected last will display on the main screen just below your resistance. Stealth mode lets you keep the screen off while firing. Preheat lets you set a power level and duration for a preheat before firing at the set wattage. I found the preheat options were a bit limited being only able to set a power level and a max of 2 seconds duration. M1-3 lets you setup your TCR values. Logo will let you turn on and off a logo that can be manually loaded using the firmware updated software. LED let’s you select the colour of the LED that shines through the back or shut it off completely. Version shows the current hardware and firmware versions while battery gives a more precise reading of the battery then the bar on the live screen does. Currently there aren’t any updates available for the device.
Putting it through it’s paces and my regular series of tests I found the power delivery to be pretty accurate up to 100W and seemed to work well using temp control and the included pre-heat feature. Mind you I’m no Phil Busardo or DJLSB and my tests are pretty cursory so look for more thorough testing from the industry experts!
The tank:
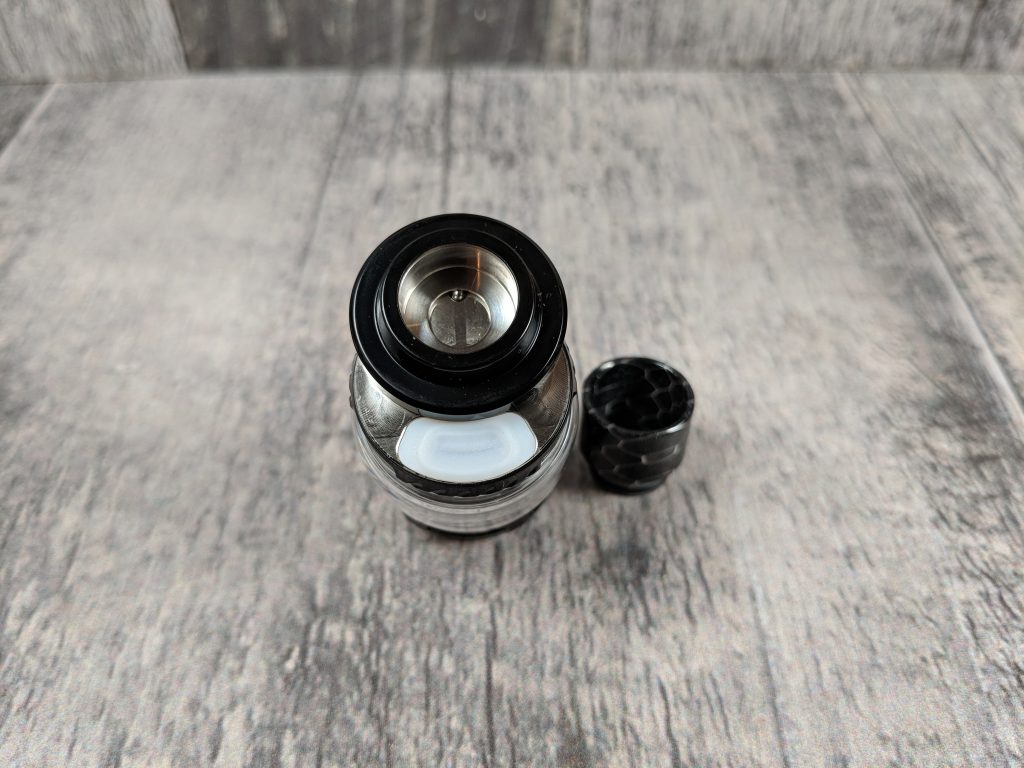
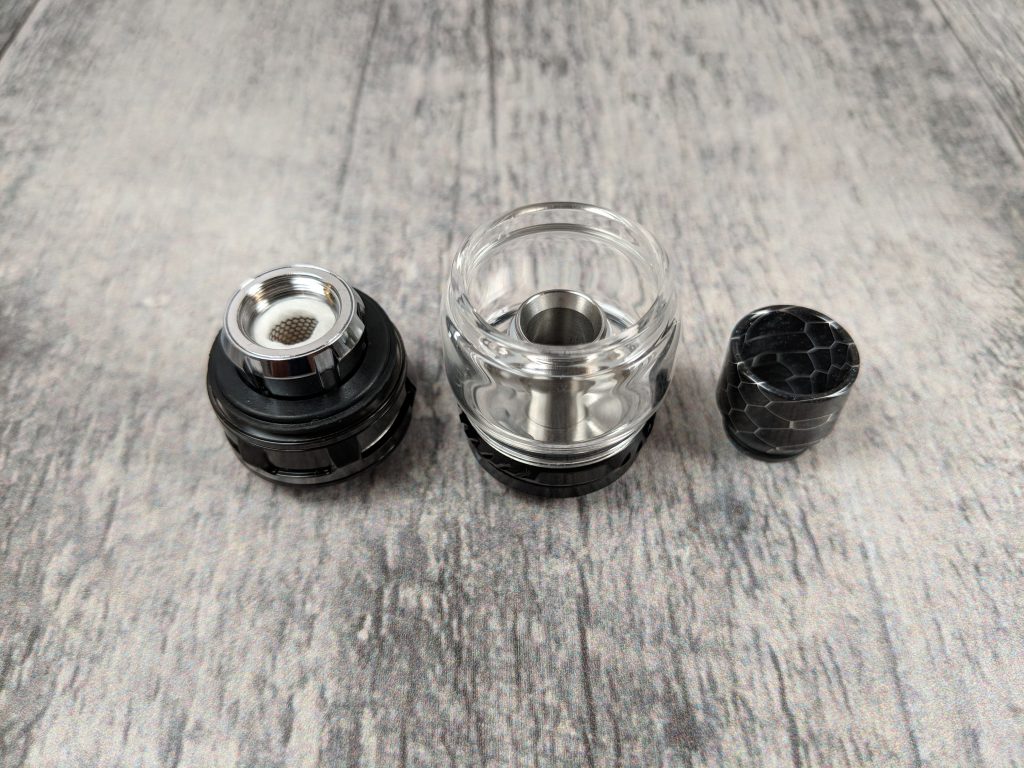
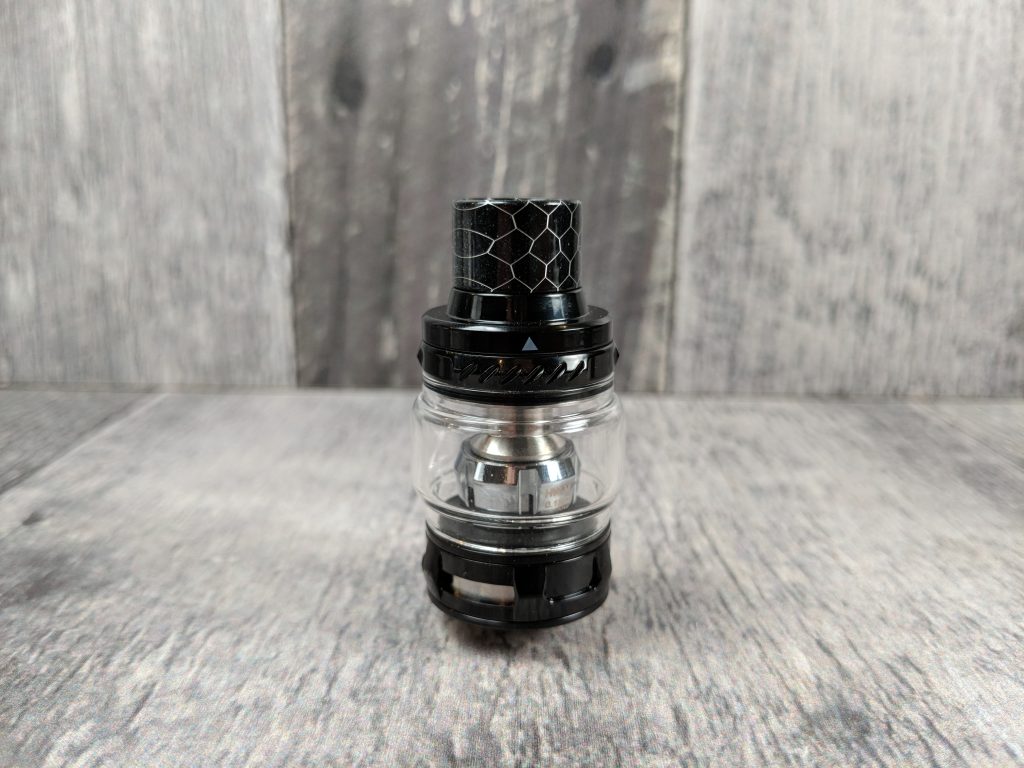
The Ello Vate tank is essentially the newest in the line of Ello tanks and very similar to Eleafs previous Ello Duro release that came with the iJust 3. It’s a 26.5mm diameter tank around the base that holds a whopping 6.5ml of liquid thanks to it’s bubble shaped glass but the kit also includes a straight glass if you don’t like the look of the bubbled glass. I’m guessing it will hold a bit less liquid but they don’t state on their site the amount. It comes equipped with a honeycomb styled 810 resin drip tip that looks gorgeous and matches the kit nicely.
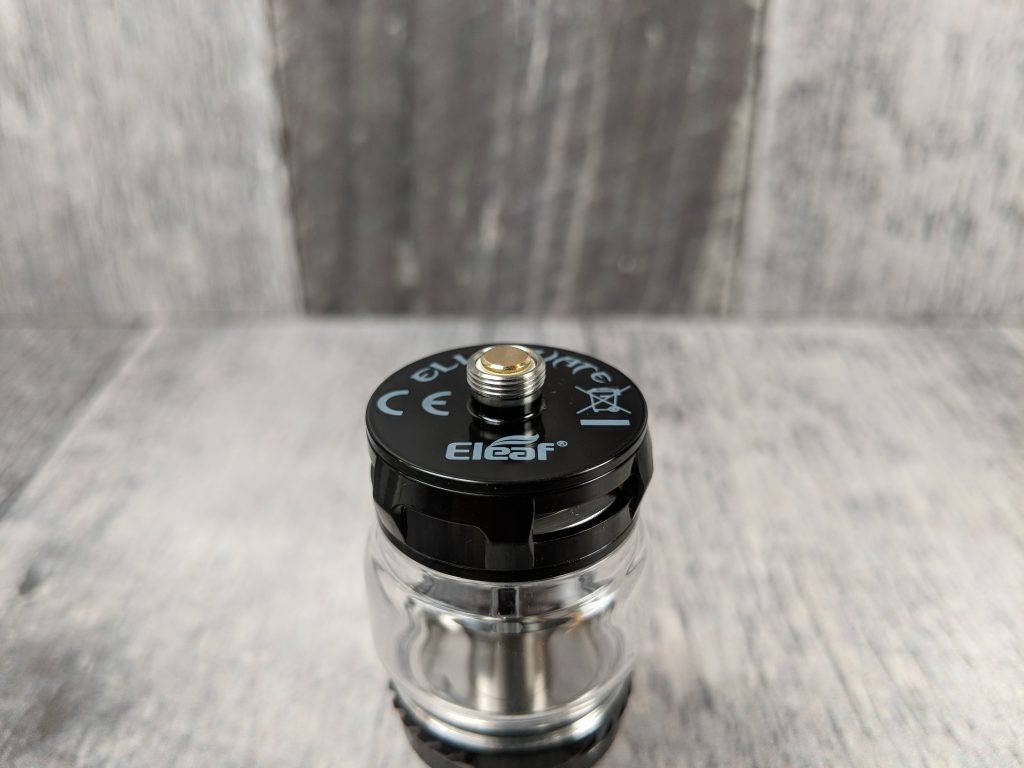
Just below the drip tip is the top fill mechanism. It’s a slide to open tank just like the Ello Duro and there’s a little tiny little triangle on the side of the top fill cap to indicate where to push to open it. Just like the Duro it comes with two different fill seals one that looks like the top of a tissue box where you have to push your tip in past the interesting looking diaphragm or an open seal that just has a hole in the top like more traditional top fills. The tissue box style seal works great except when dealing with blunt tipped bottles where it’s too tight to fit the tip properly.
Airflow comes from the bottom like most tanks these days and is adjustable via the airflow control ring around the base. It’s got stops at either end but no clicks to hold it in place. It is quite firm though so I can’t imagine it moving around too easily on it’s own.
The Coils:
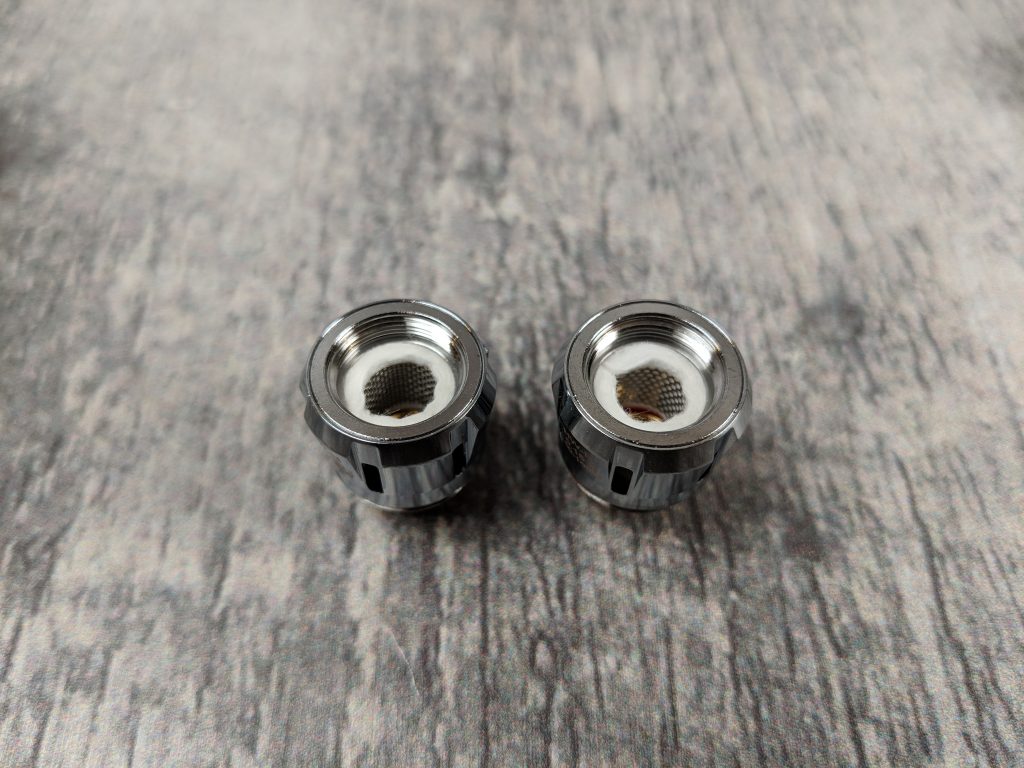
I’ve actually reviewed the two included coils with the iJust 3 review I posted recently and my opinion really hasn’t changed. The HW-N is rated at 0.2ohm with a recommended wattage range of 40-90W while the HW-M coil is rated at 0.15ohm with a recommended rage of 50-100W. I found both performed decently at 80W all the way up to their recommended max wattage although they did start to get a bit hot. I was actually more comfortable running them both around 80W for a good balance of performance and battery life.
Looking closer at the two coils they both use a form of mesh with the HW-N coil using a more traditional type of mesh while the HW-M uses what equates to a strip of metal with a bunch of holes punched through it to form a solid strip of mesh. Basically like a kitchen colander as opposed to a mesh strainer. Performance from both coils was rather impressive with both able to produce some thick dense clouds with plenty of flavour and minimal leakage. I would be hard pressed to pick a winner among the two but considering battery life is always a consideration for me I’d probably lean towards the 0.2ohm HW-N coil as I was able to run it at a lower wattage but still get decent performance. I also felt like ramp up with the HW-N coil was a bit quicker. Longevity will depend on a number of factors such as juice used, vaping habits and QC on the coils but with both coils I was able to get well over a week of use from them and only changed to the second coil to see if there was any difference. I did find if left sitting for a while the HW-N coil would occasionally leak a tiny bit through the airflow but haven’t had any leaks from the M coils as of yet.
Likes:
- Build quality
- Looks
- Performance
- Ello Vate tank and coils
- Top fill
- Battery options
- Side by side form factor
- Great flavour and vapour
- LED lights(subjective)
Dislikes:
- Battery tube could potentially cross thread
- No screen brightness adjustment
- Coils can leak if left sitting
Overall:
As mentioned above I’ve long been a fan of the Pico series of mods and the Pico S has won me over with a good balance between compact size and performance. Not only does it perform well but it looks good doing it. Definitely a standout in the crowd and another win from Eleaf as far as I’m concerned. I wouldn’t have any trouble recommending the Pico S to anyone looking for a well made, single battery kit that performs like a champ!


