If you follow my reviews you may have caught on to the fact that I like to keep my gear compact, so I was quite excited to see this new blazar kit released from Coilart. I think it was sometime around the beginning of 2019 that we saw a resurgence of interest in 18350 mechanical style mods with one of the first to hit the market and cause a stir being the Cthulhu 18350 tube mod. I mainly attribute this resurgence to salt based nic as we’re now seeing many users returning to low powered gear that tends to work really well with high nic liquids. Since then I’ve noticed a number of companies have launched similar offerings and now Coilart is throwing their hat in to the small mod game with the launch of the Coilart Blazar kit.
Package contents:
| 1 x | Blazar Mod |
| 1 x | Blazar RTA |
| 1 x | Spare glass |
| 1 x | Accessories bag |
| 1 x | User manual |
| 1 x | QC card |
Listed features and specs:
| Dimensions: | 24mm x 98mm |
| Liquid capacity: | 2ml |
| Deck type: | Single coil |
| Safety features: | Child proof, leak proof |
| Protections: | Chip protection |
| Voltage range: | 3.0-4.2V |
| Resistance range: | 0.15-3.0 ohms |
| Battery: | 18350 |
| Fire button: | Side fire |
| Battery cap: | Bottom adjustable |
| Colours: | SS, Black, Resin Green/Yellow/Purple |
Packaging and contents:
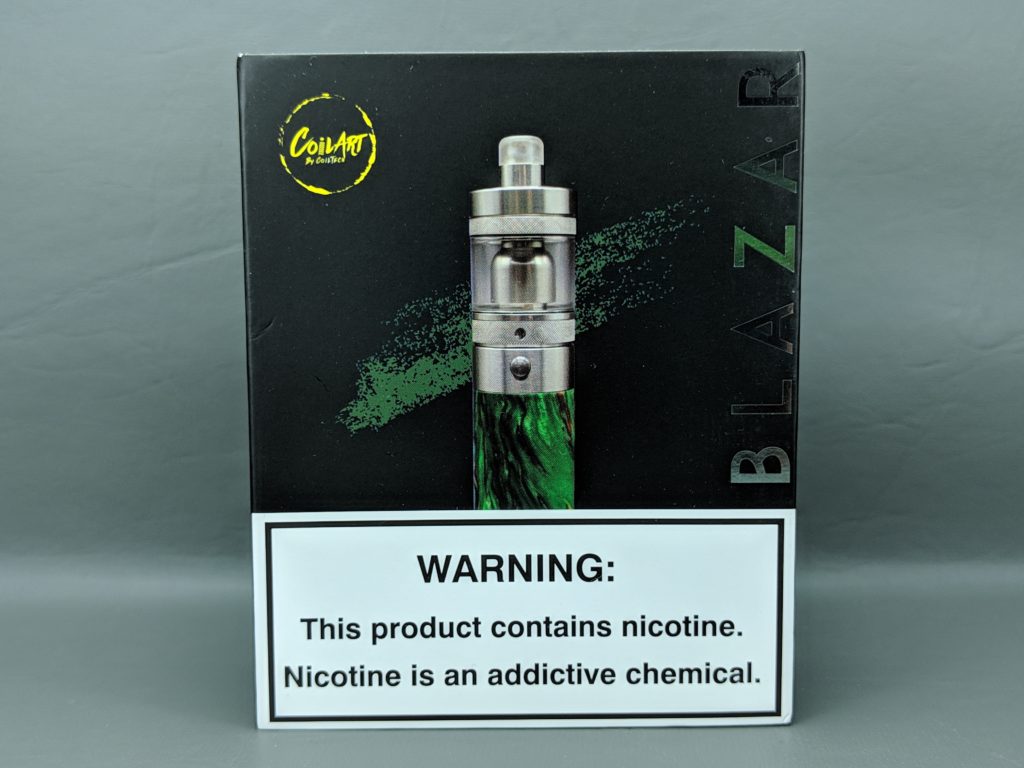
The kit comes packed in a nice black cardboard box with Coilarts logo printed in yellow on the front. A sleeve with an image of the blazar kit on the front and a listing of the contents and some basic warnings on the back slides over it to protect the box and give you an idea of what it contains. Inside the kit you get the Blazar mod, the Blazar RTA, a spare glass tank, a bag of accessories, a user manual and a QC card. In the accessories bag you get a set of spare o-rings and a set of spare grub screws. Noticeably absent are any type of coils or cotton so you’ll need to source your own in order to get started with this blazar kit.
The mod:
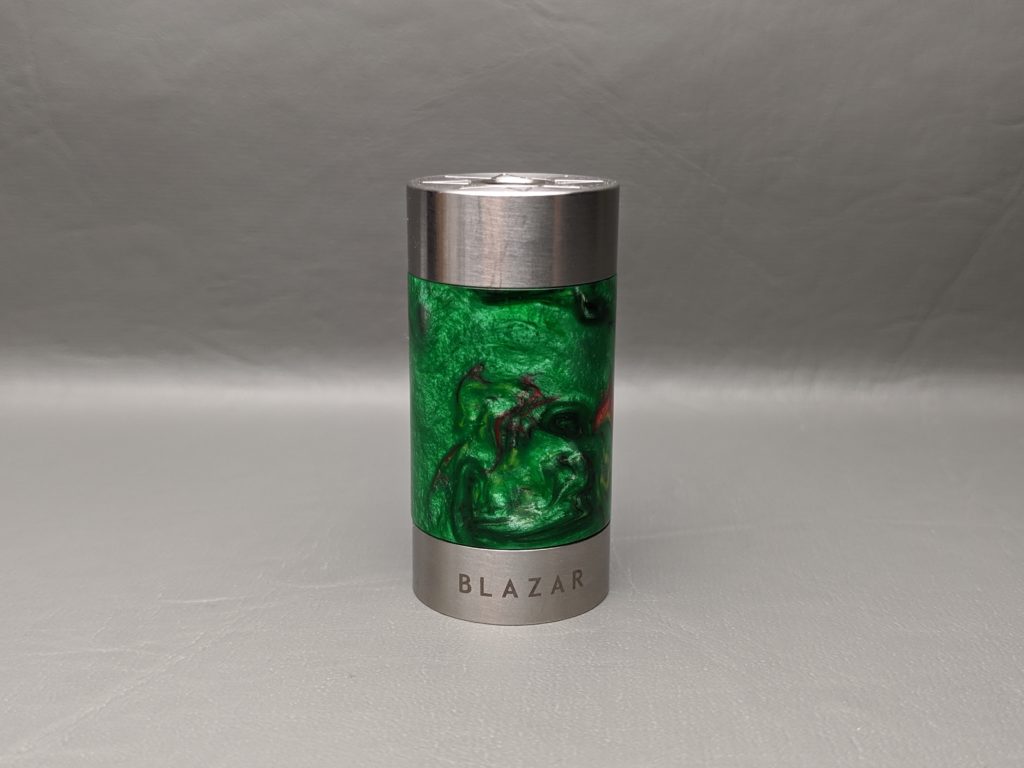
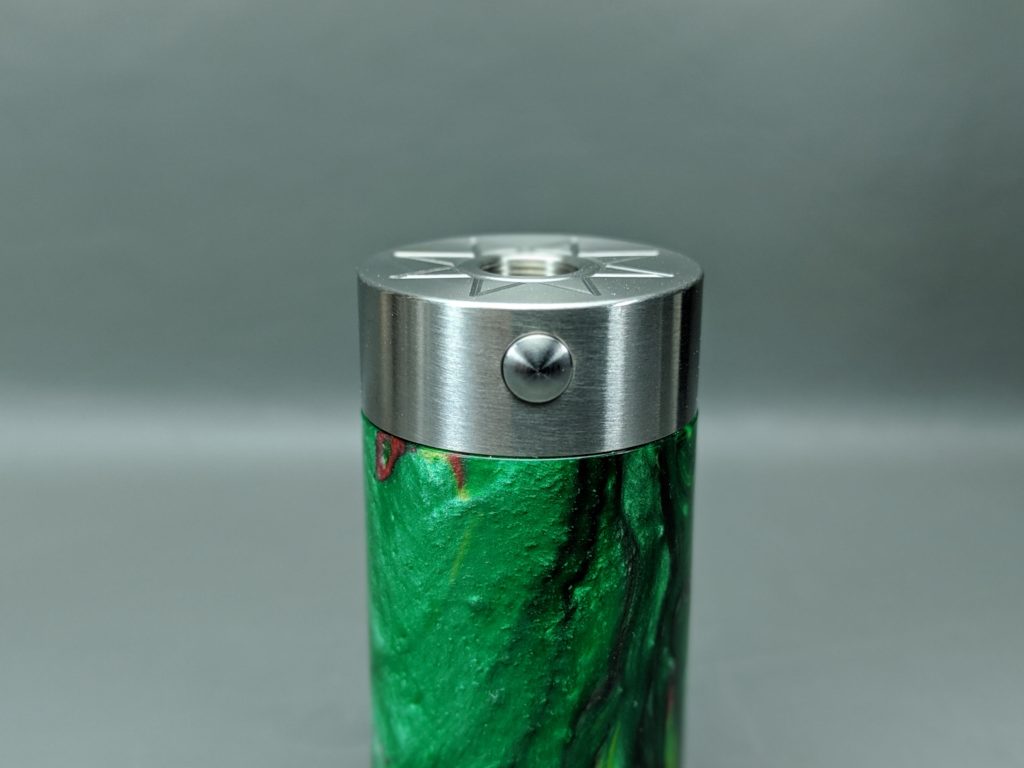
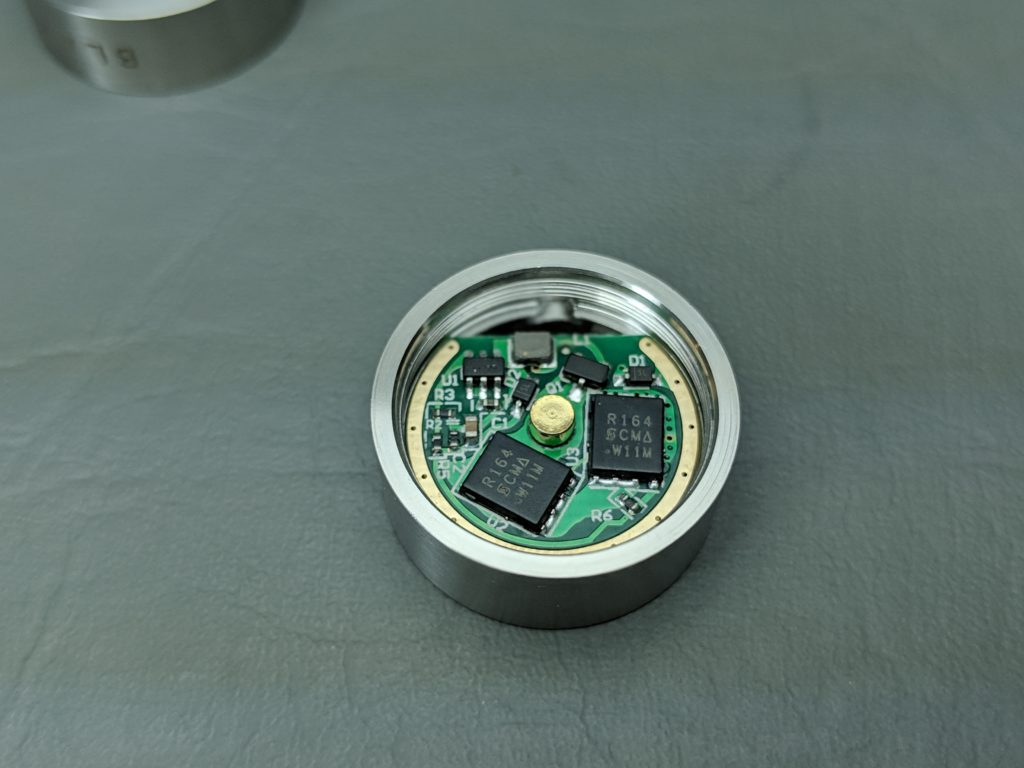
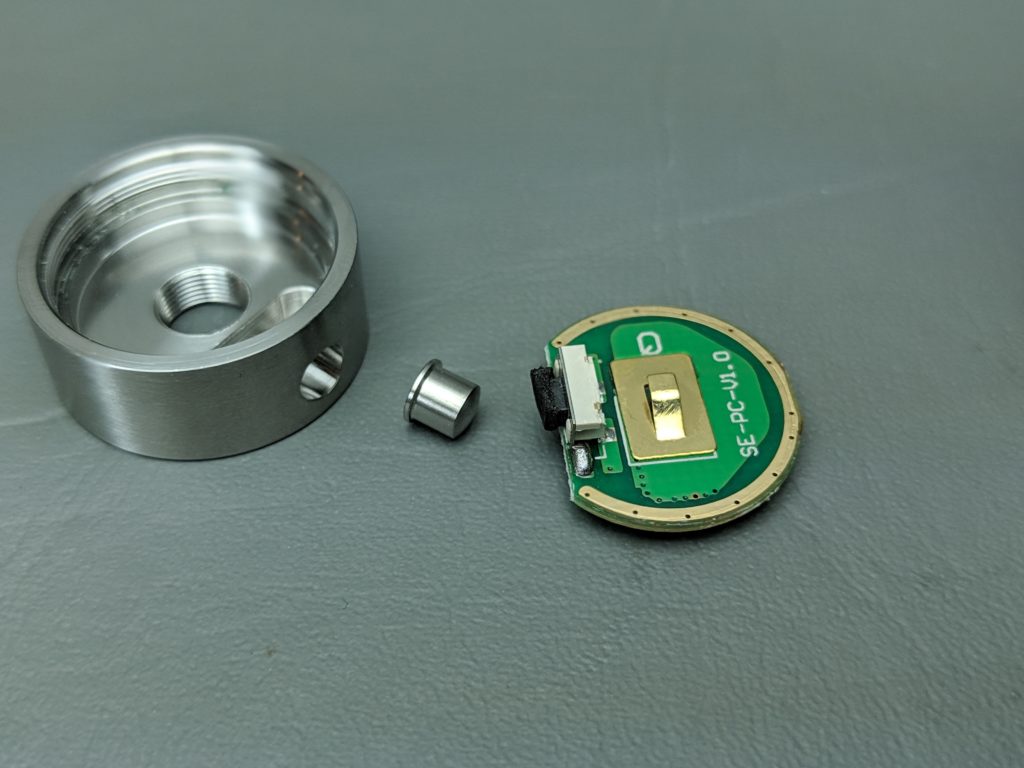
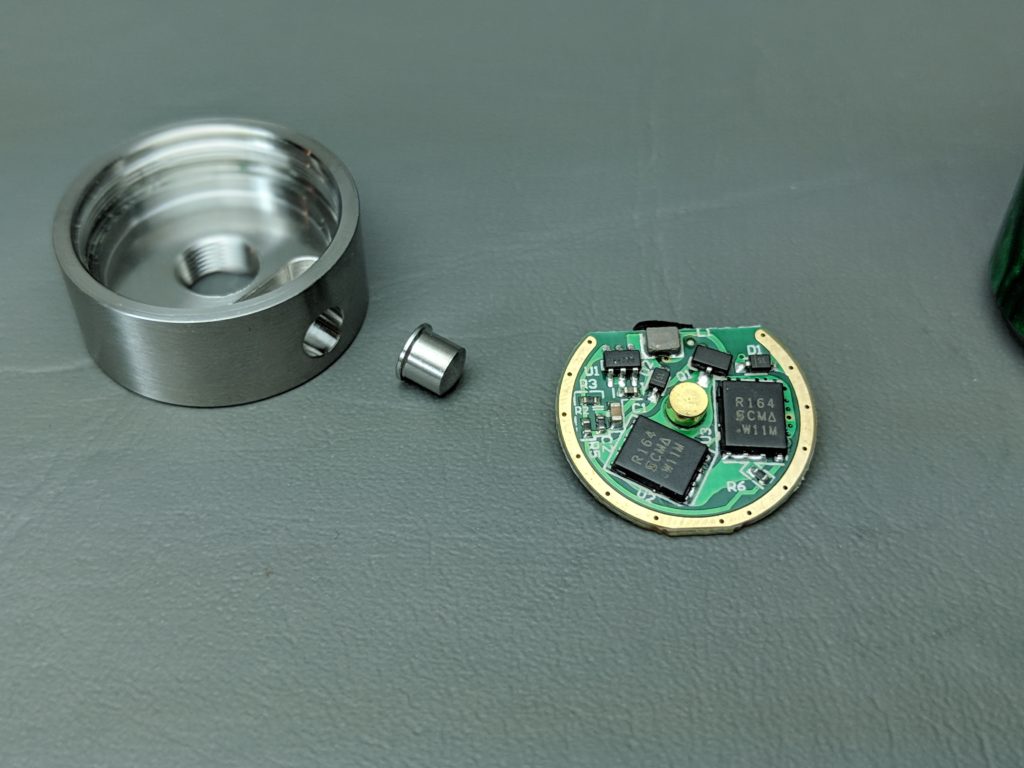
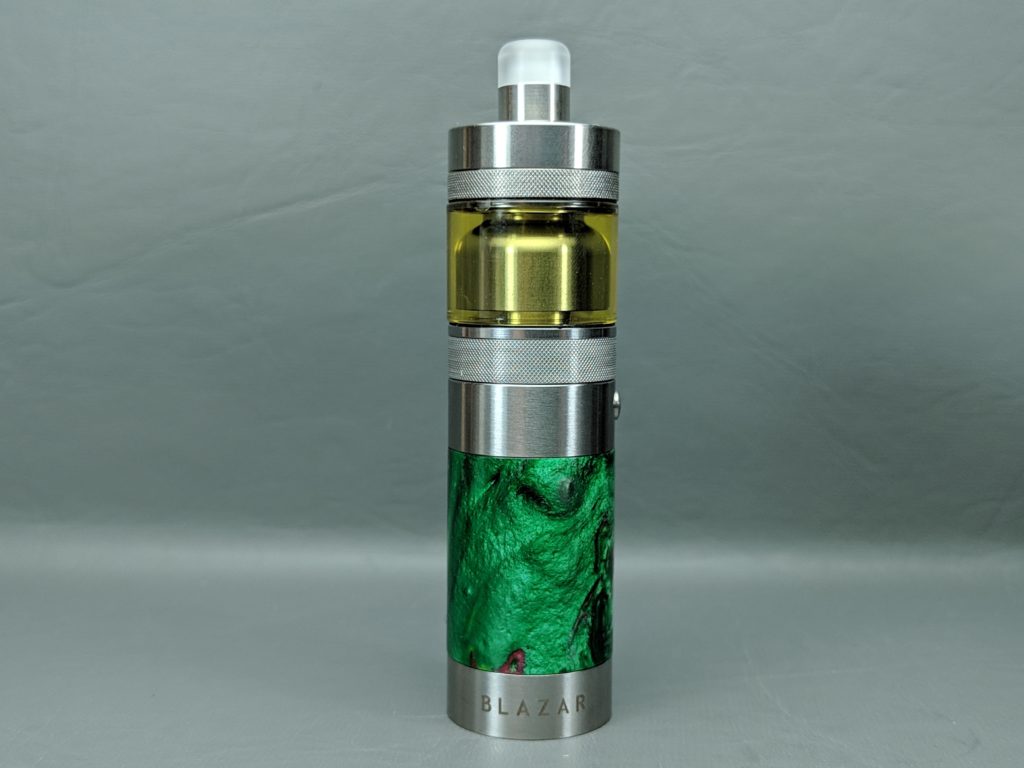
The mod much like other 18350 mechanical style mods is extremely compact. It measures 24mm in diameter and stands roughly 48mm tall. At the top it has a nicely polished stainless steel cap that houses the rounded metal button as well as the mosfet chip. The button is tiny and can be tricky to locate by feel alone but once your thumb is on it you’re usually good to go. On the top of the cap it has a sort of star pattern nicely engraved in the metal around the 510 connection. The 510 threads are stainless steel, nice and smooth and so far no issues threading anything on it. One thing to note however is like most other 18350 mods in it’s class it uses a bent metal prong as the 510 positive connection which are somewhat prone to bending and breaking if you abuse it so always be mindful of your 510s length. Another thing to note is there aren’t any screws or anything to secure the mosfet chip which is also pretty common in these types of things but I’d still prefer to see at least one screw holding it in place.
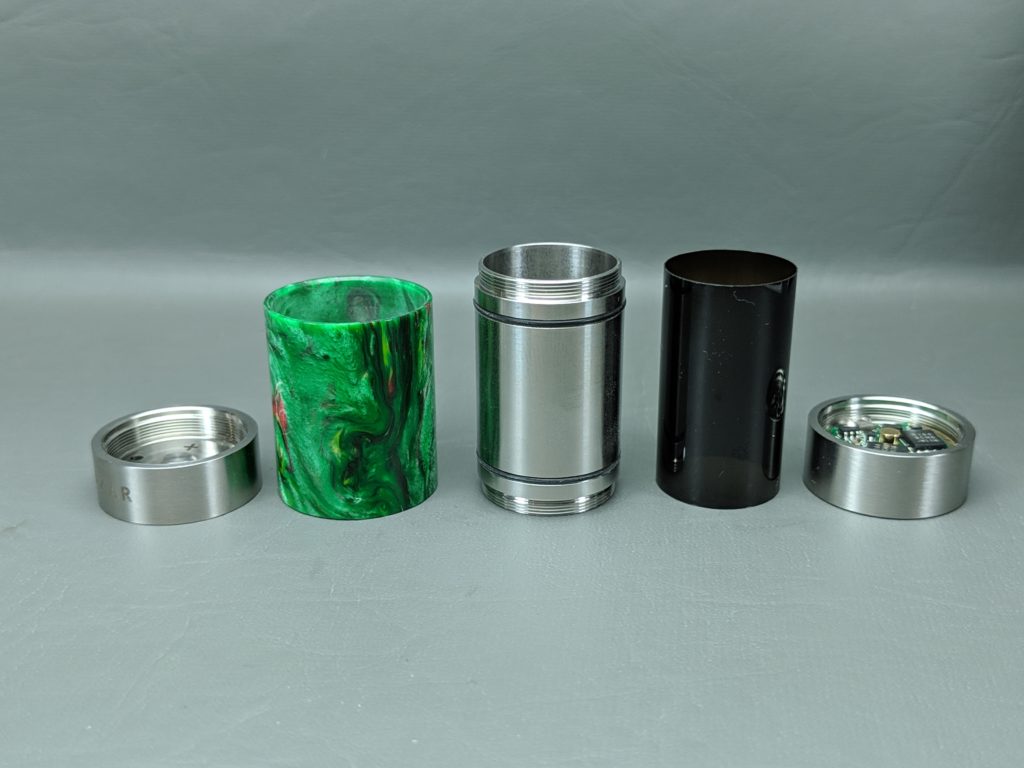
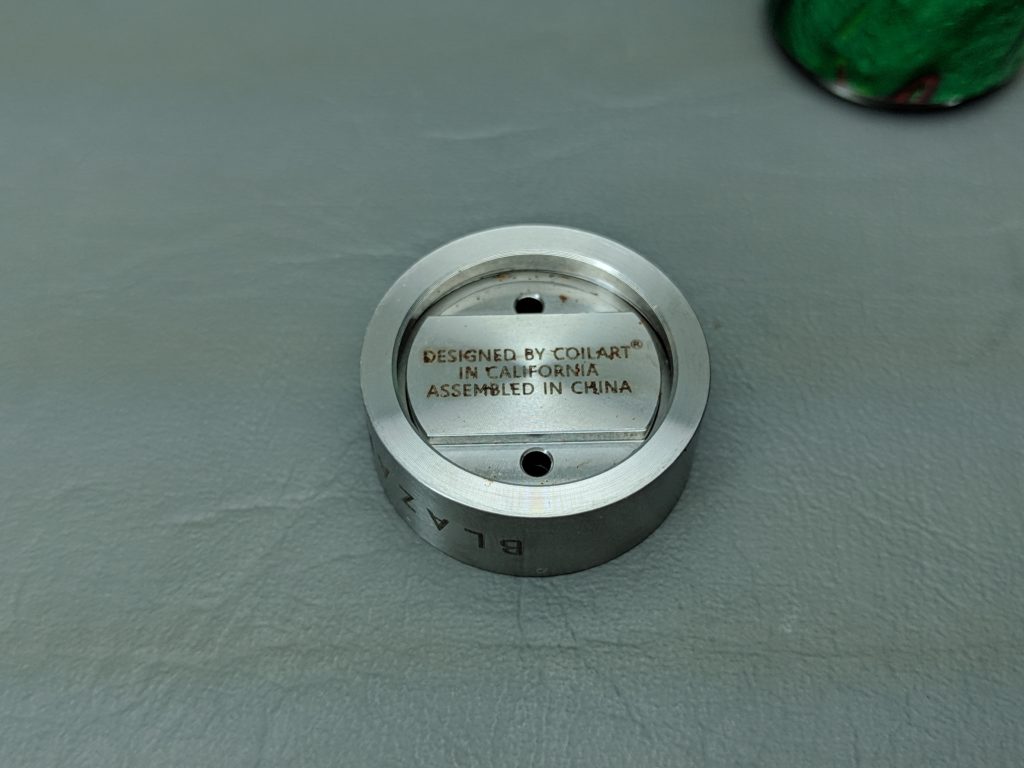
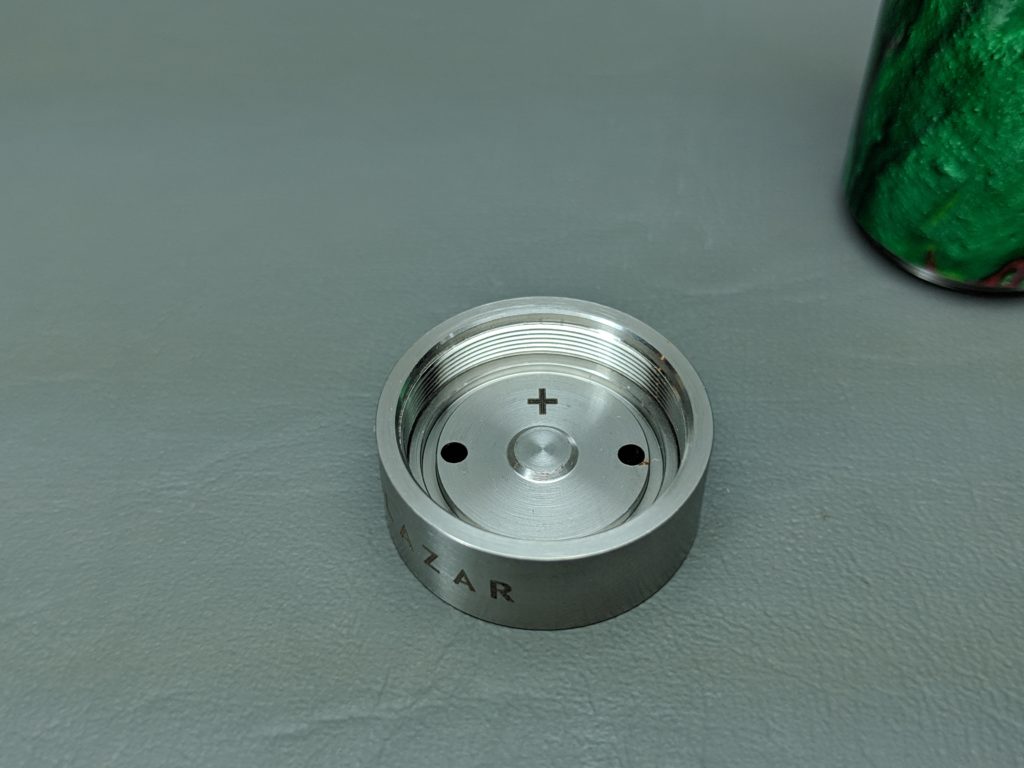
The body of the mod is also stainless steel but covered with a nice patterned resin sleeve. It’s held in place with a couple of o-rings which keeps it very secure. Inside the tube they also lined it with a plastic sheath so it adds yet another layer of protection should you accidentally pop in a battery with a nick or tear in the wrap. With that mosfet however there would be less to worry about as it also protects against low/high resistance, overheating, short circuit and reverse polarity. They don’t provide a whole lot of information on the chip itself and on their site they list the resistance range being from 0.15 to 3.0ohm which I think would drastically exceed the amp limits of nearly any 18350 on the market so please if you plan on using a device like this make sure you have an understanding of OHMs law and Battery safety and know the limits of your battery and build accordingly. I always tend to play it safe and won’t build below 0.7ohm on an 18350 device like this, which is no where near the 0.15ohms in their listing. Hopefully it can be addressed on their site since the mosfet looks pretty much identical to others I’ve seen used. On the very bottom of the mod there is a branded and adjustable battery cap. It’s got a threaded inner piece that can be turned to adjust for any battery rattle. It works well and looks just like the cap from a few other mods in it’s class.
The tank:
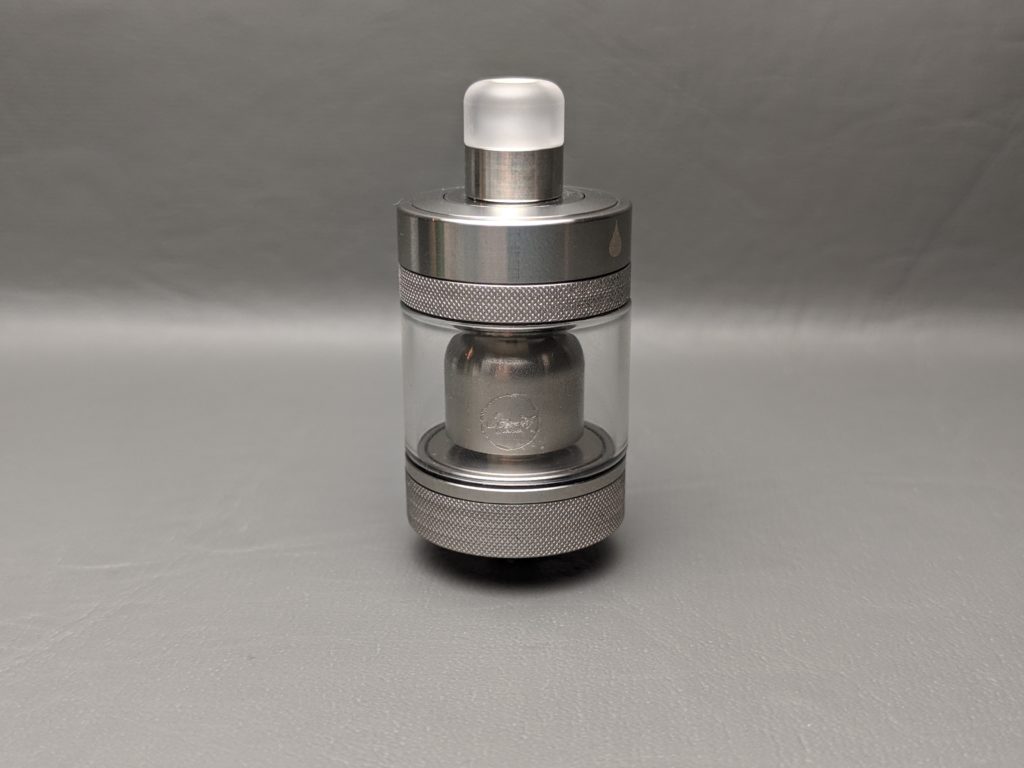
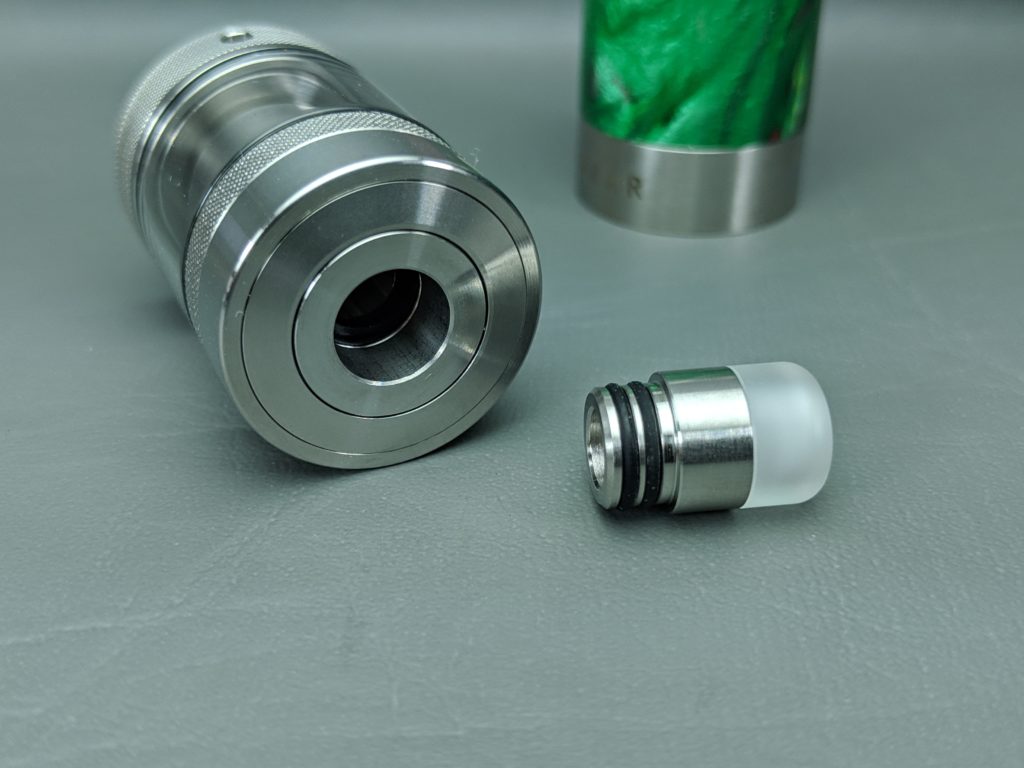
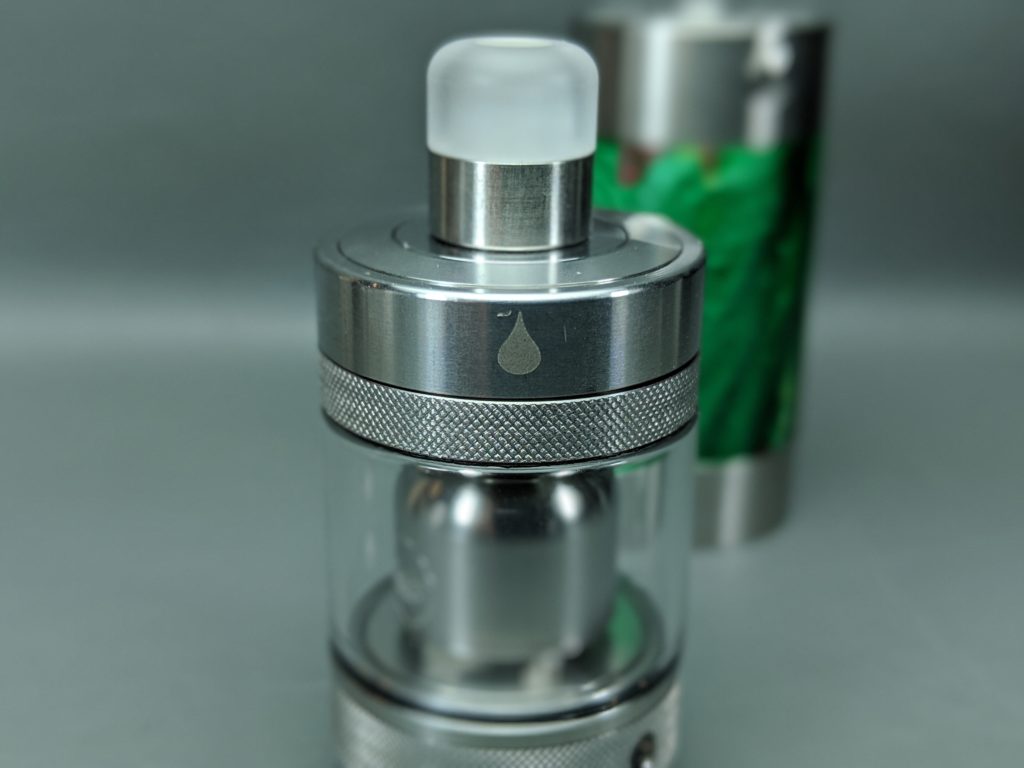
The tank that comes with the blazar kit is called the Blazar RTA. It’s a 24mm diameter 2ml single coil rebuildable mouth to lung atomizer that aesthetically pairs nicely with the Blazar mod. It stands roughly 34mm tall not including the drip tip. At the top of blazar kit comes with a nice looking two-tone half metal half plastic 510 drip tip that matches nicely with the tank. It reminds me of the tips that come with newer Kayfun tanks and is comfortable on the lips and is well suited for a mouth to lung tank like this. Just below the drip tip is the childproof top fill cap. It uses a lift and slide motion to open it, so you need to pull up before pushing on the little tear drop to open the top. Once open it reveals a diaphragm style silicone plug, the type where you push your tip through two flaps to fill up the tank. It works well enough and the diaphragm helps avoid any mess and so far on my couple tops ups it worked fine.
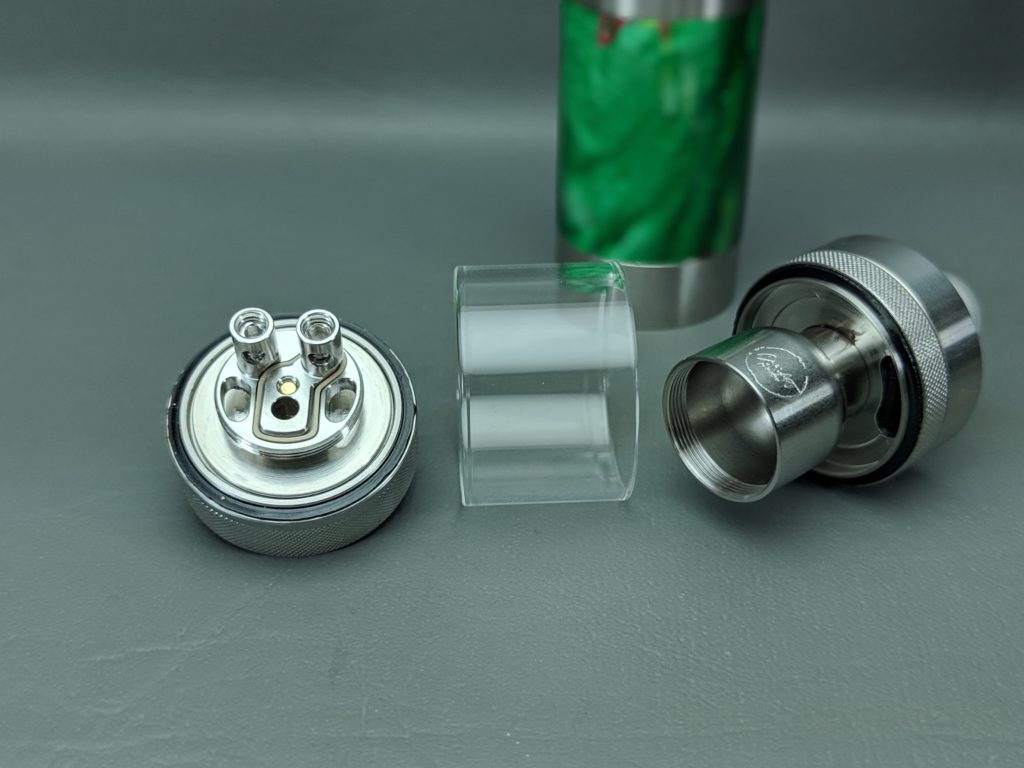
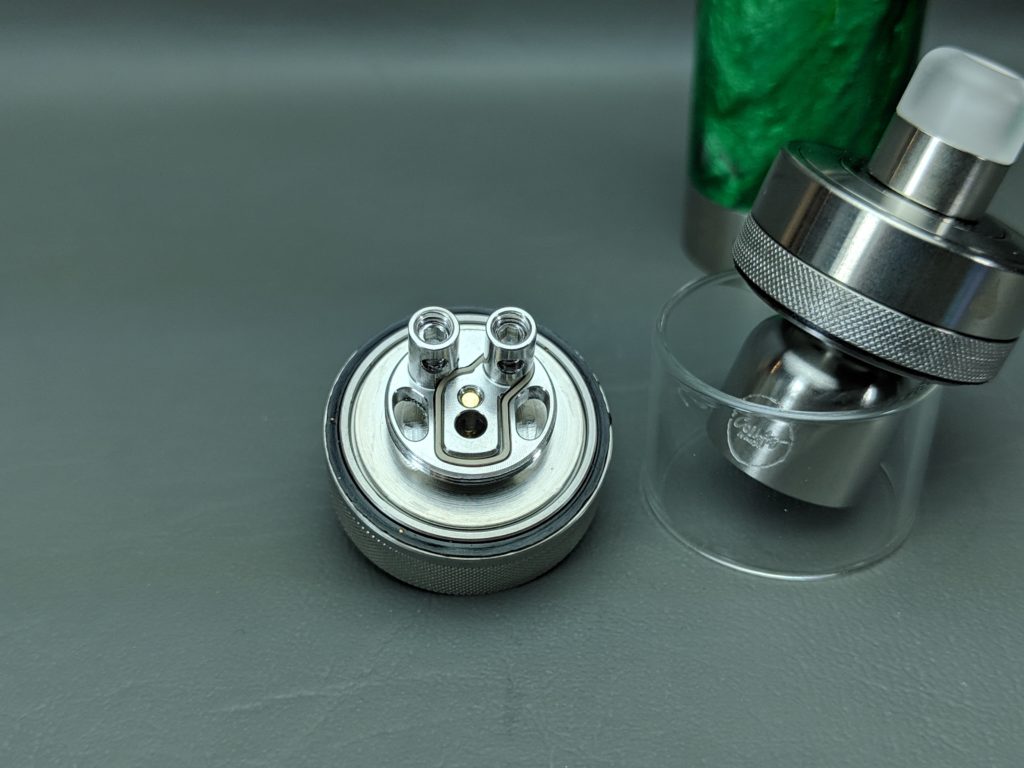
Now where things start to go a bit wrong for me is the tank portion of the atomizer. It has some nice fine knurling on the upper and lower tank pieces to assist with unscrewing it. But if you unscrew the upper tank piece from the base the glass just pops right off. Unlike most tanks the glass does not stay put on the upper tank piece so you definitely can’t work on your deck without emptying the tank first. It uses a standard o-ring rather than one of those L shaped ones. For me this is a pretty considerable inconvenience cause if you get anything wrong with your wicking or your coil you don’t have many options other than dumping your tank and starting over.
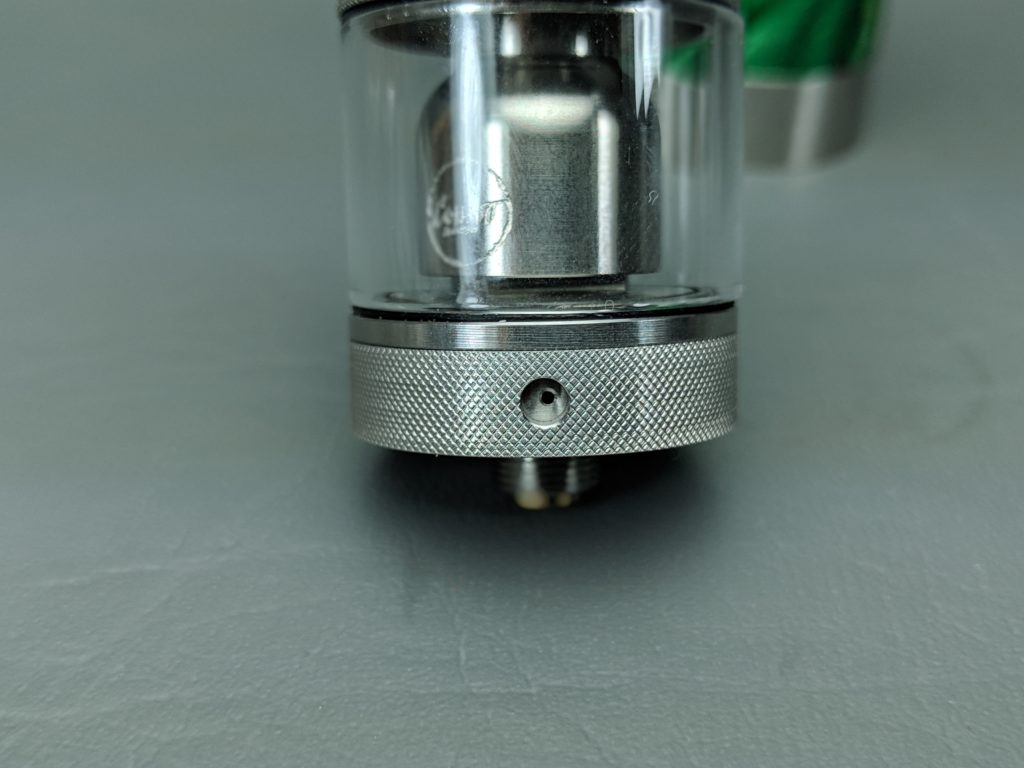
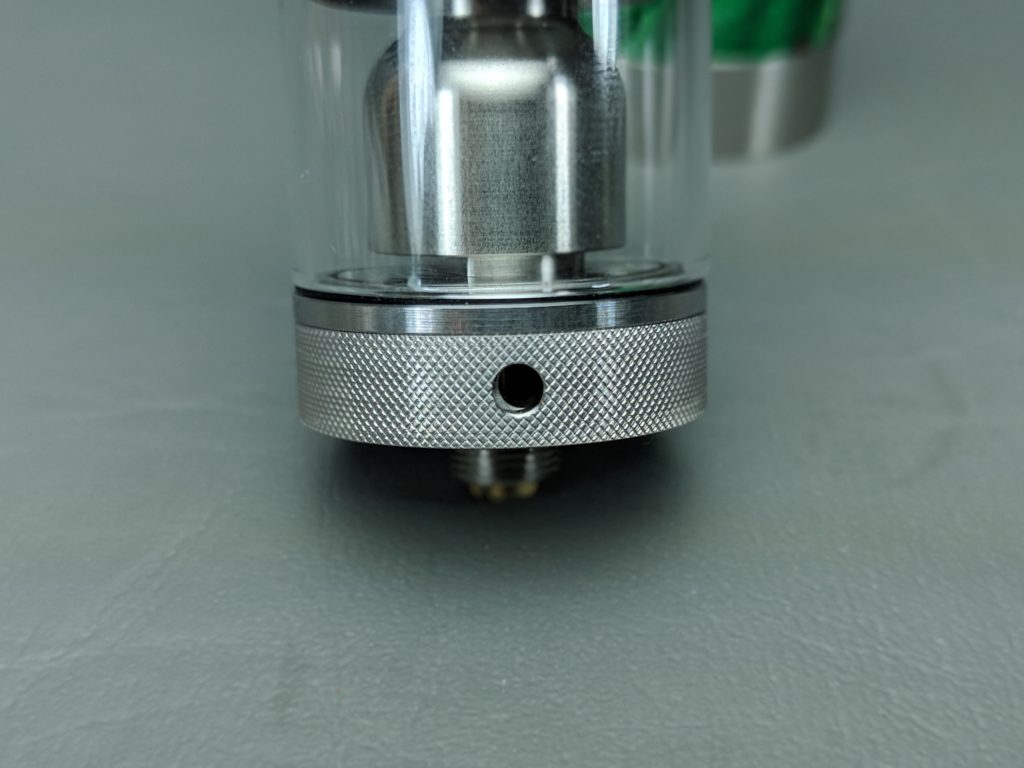
On the base of the tank is the adjustable airflow control. Like most others it’s controlled by a spinning ring with a single hole cut through it. You can turn the ring to expose one of six different holes ranging in size from about 3mm all the way down to a pin point. I find with the pinpoint it’s almost too small where the largest hole is almost too big. I’ve been using the second smallest for a slightly looser but still tight mouth to lung hit. I actually quite like the airflow on this as it can give a real tight mouth to lung draw which a lot of people look for and with the six holes to chose from I think nearly any mouth to lung vaper can find one that works for them.
Build, wick and Performance:
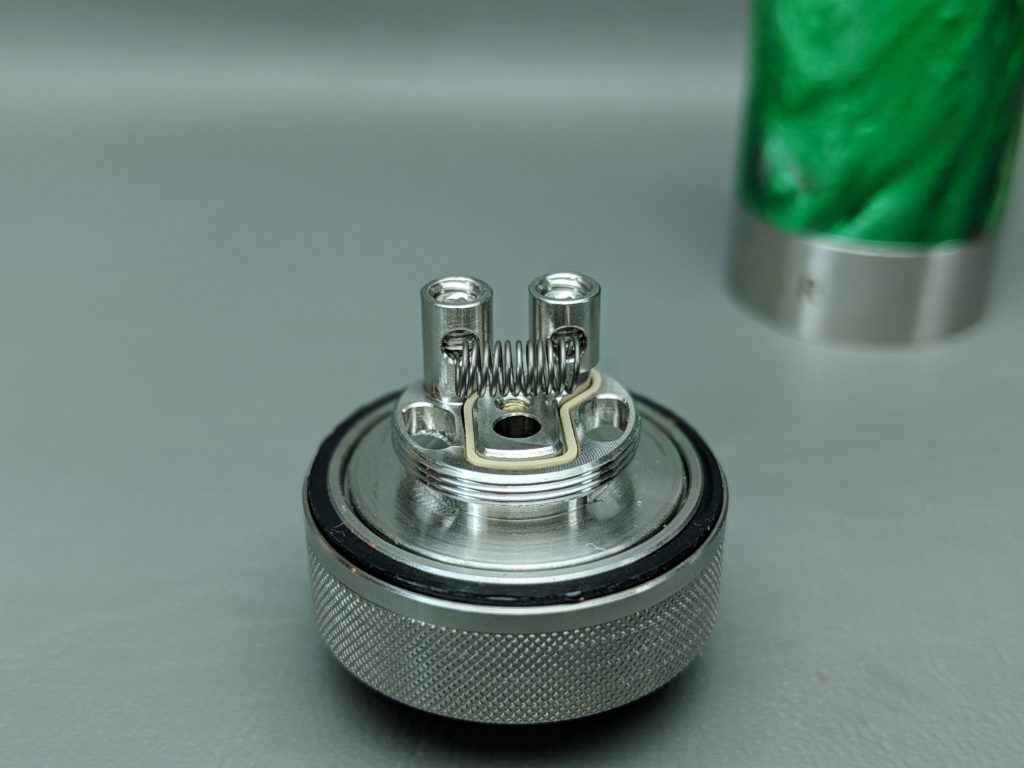
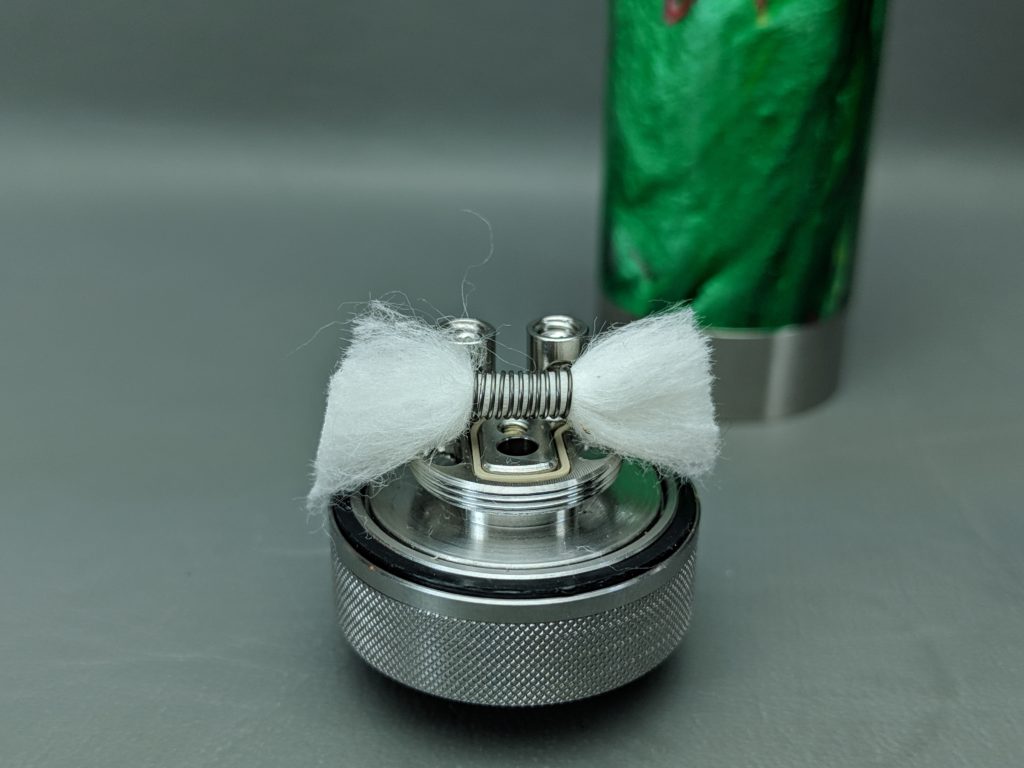
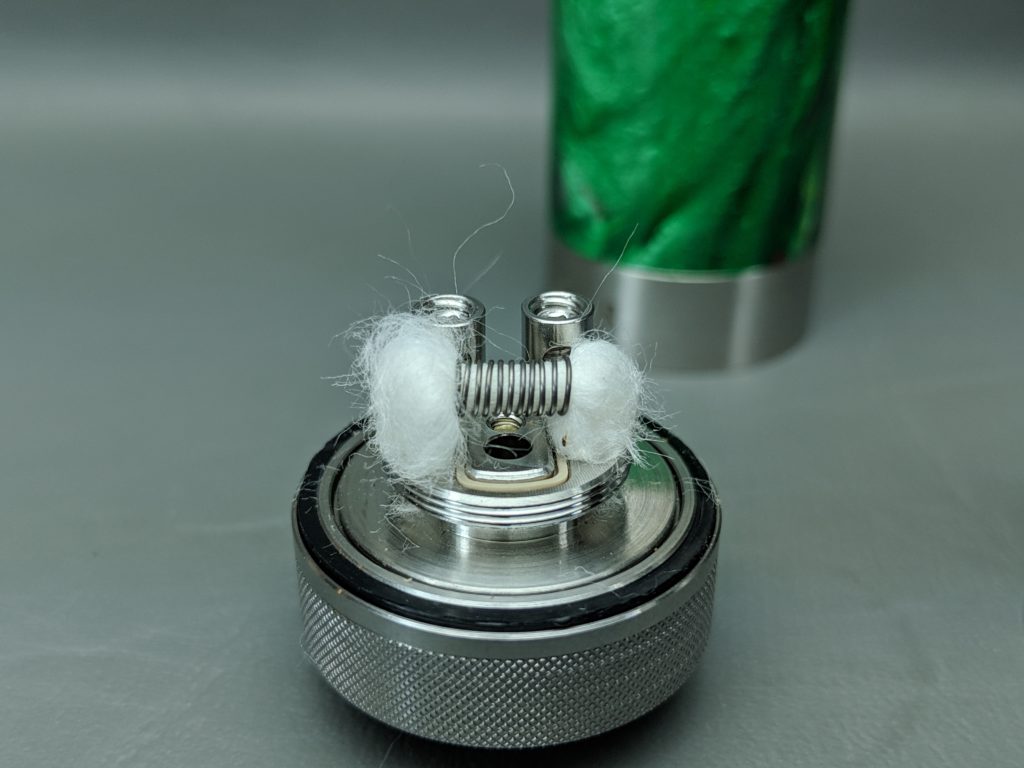
The build deck on this thing is pretty straight forward and it’s layout and design reminds me of a number of popular but also aging single coil atomizers already on the market, like the Wotofo Serpent Alto or Viper. It uses hollow tubes for the posts which don’t bottom out so building with these posts creates another challenge. Basically what happens is if you screw the grubs in too far they could sever your leads. It’s an old problem that I thought most manufacturers had figured out by now which is the main reason it feels a bit dated. It can still be used you just need a light touch when it comes to tightening down your leads but that itself can lead to jumping resistance or worse. Airflow to the coil comes straight up from the bottom of the deck through a hole that’s about the same diameter as the largest airflow option. I kind of wish it was raised up just a bit more from the floor of the deck as any condensation buildup or minor flooding could end up running out your airflow. For wicking there are two sort of kidney shaped holes where you tuck your cotton in on either side. It’s a familiar setup that’s easy to use with my preferred method to cut the cotton on an angle and tuck the tips in the holes. With the simple 1.8ohm straight wire build I put in it provides a really nice tight and flavourful mouth to lung experience and paired with a 1200mAh Keepower 18350 it tends to easily last me through my work day but results may vary depending on how much you vape, your build and the battery you are using.
Overall:
If it weren’t for the two mostly just annoying issues with the tank I would have rated this blazar kit considerably higher. As a fan of 18350 mechs I really like the aesthetics of it as well as it’s compact size and overall performance. If you can live with the challenges of the tank it’s still a pretty decent option especially for mouth to lung vapers who like a tight draw or folks who like to use high nic liquids like salts. So bottom line is it’s a great looking blazar kit but with a couple of considerable challenges that may require a bit of patience. This one will be for the more seasoned vapers as it does require knowledge of ohms law and battery safety.

