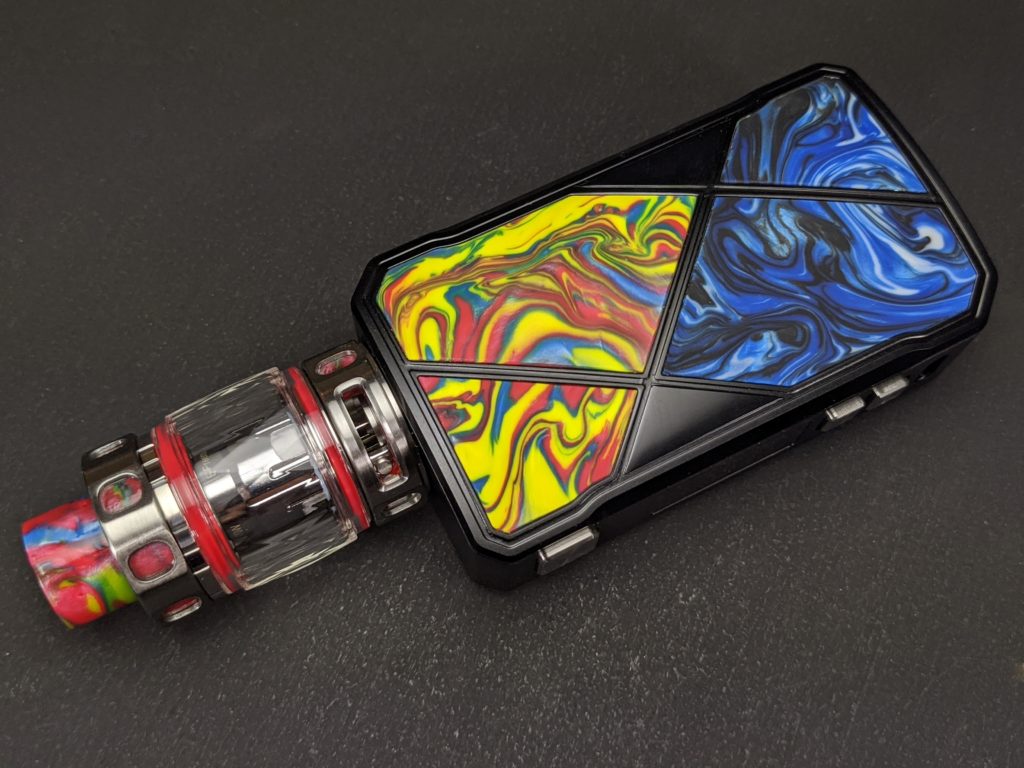
Freemax who are probably best known for introducing the world to subohm mesh tanks, dropped a couple of new kits recently. I was fortunate enough to get my hands on them and wanted to share my thoughts on the dual battery version of the kit called the Freemax Maxus 200W kit. The kit if you haven’t guesses is a subohm mesh kit that’s got at least one really neat little feature hidden inside so let’s take a closer look at what it’s got!
Package contents:
| 1 x | Freemax Maxus 200W VW Mod |
|---|---|
| 1 x | Freemax Maxus Pro 2 Tank Resin Edition(Freemax 904L M2 Mesh Coil 0.2ohm pre-installed) |
| 1 x | Extra Freemax 904L M1 Mesh Coil 0.15ohm |
| 1 x | Extra replacement glass tube 5ml |
| 1 x | Extra O-ring |
| 1 x | Type-C USB Cable |
| 1 x | Warning card |
| 1 x | Warranty card |
| 1 x | User manual |
Listed features and specs:
| Dimensions: | 135 x 28 x 52.4mm |
|---|---|
| Output voltage: | 0.7-8.4V |
| Tank capacity: | 5ml |
| Charger specification: | 5V/2A |
| Input voltage: | 3.3-4.2V(Single battery) 6.6-8.4V(Dual battery) |
| Output mode: | Power/VPC/Bypass/TC-TI/TC-SS/TC-NI/TCR |
| Output wattage: | 5-200W 100-415C 200-600F |
| Coil Resistance: | M1 0.15ohm M2 0.2ohm M3 0.15ohm M4 0.15ohm |
| Battery: | 18650x2(Smartload tech- Load at will. Support single/dual battery) |
Packaging and contents:
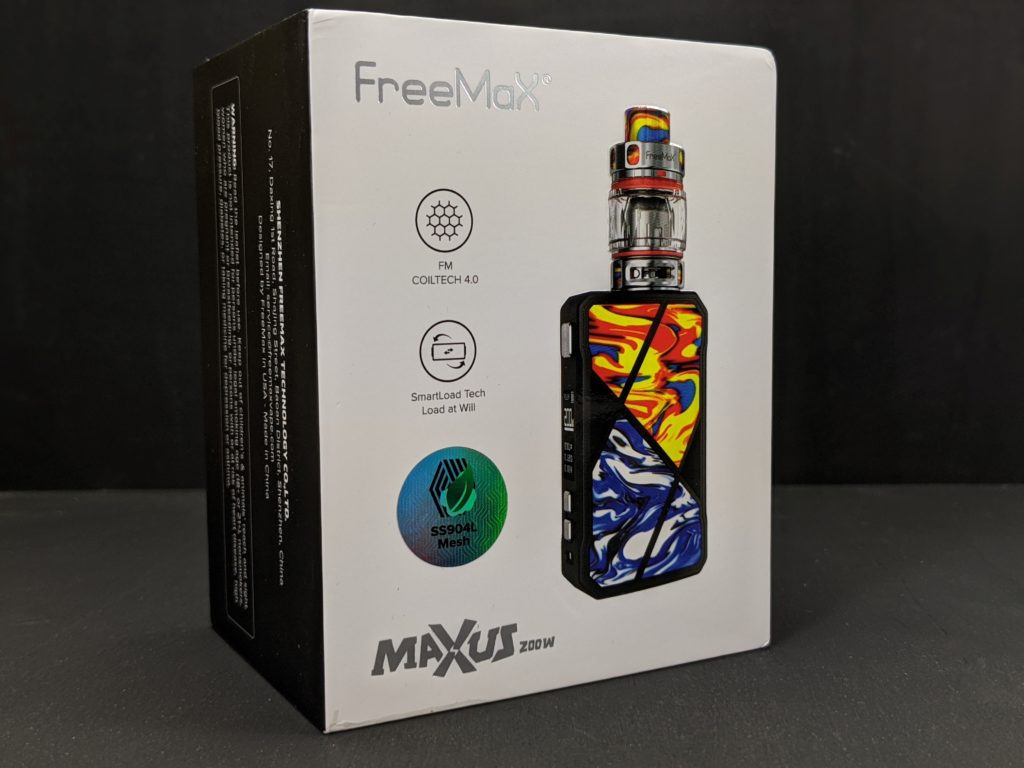
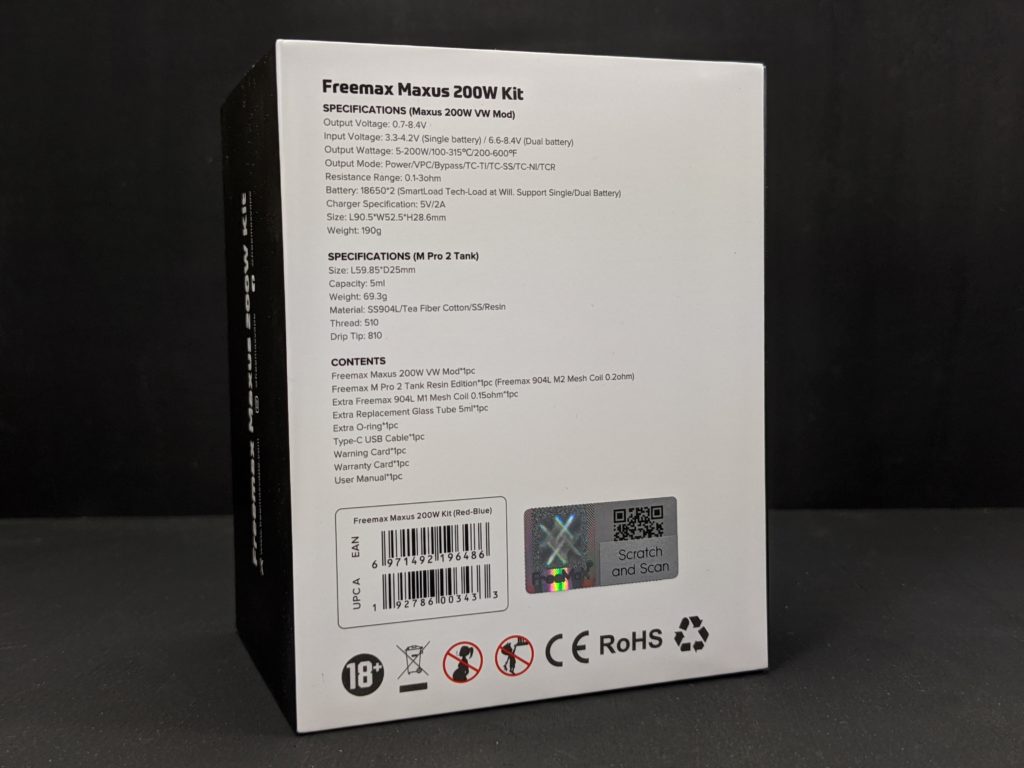
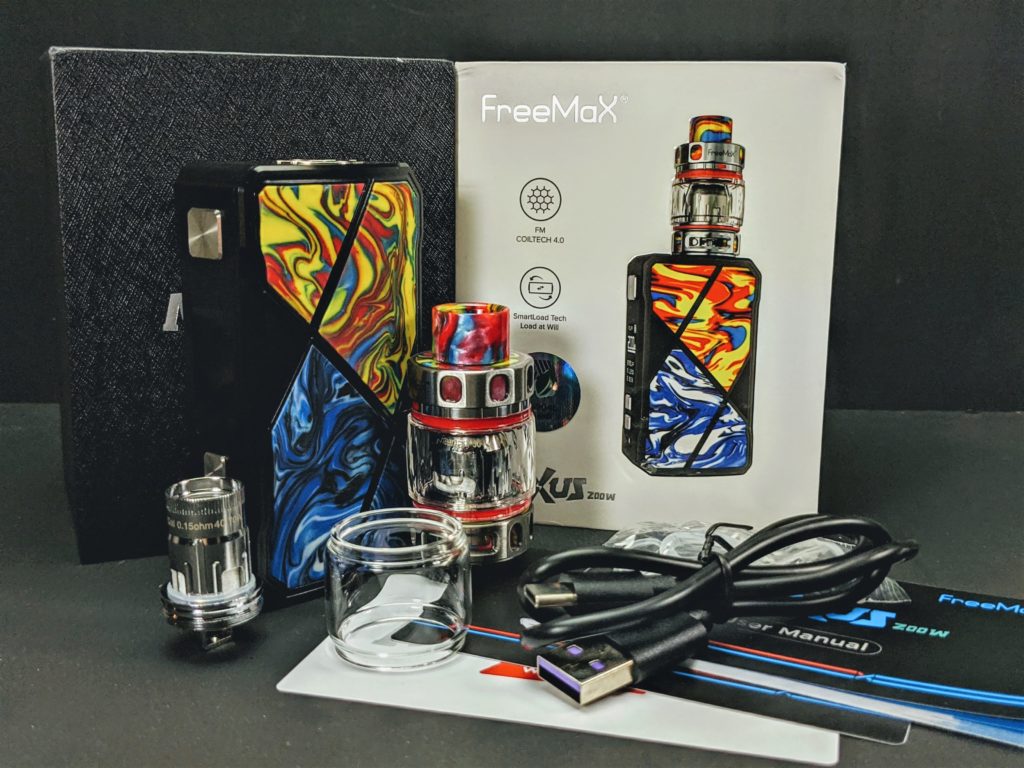
The kit comes packed in a nice cardboard box with a sleeve over it. On the front it shows an image of the mod while on the back it lists the specs and contents. In the kit you get the Maxus 200W mod, an M Pro 2 tank loaded with a 904L M2 Mesh coil, a spare 904L M1 mesh coil, a 5ml replacement glass tube, some spare o-rings, a USB type C cable, a warning card, a warranty card and a user manual. Pretty standard stuff and everything you’d need to get started.
The Freemax Maxus 200W mod:
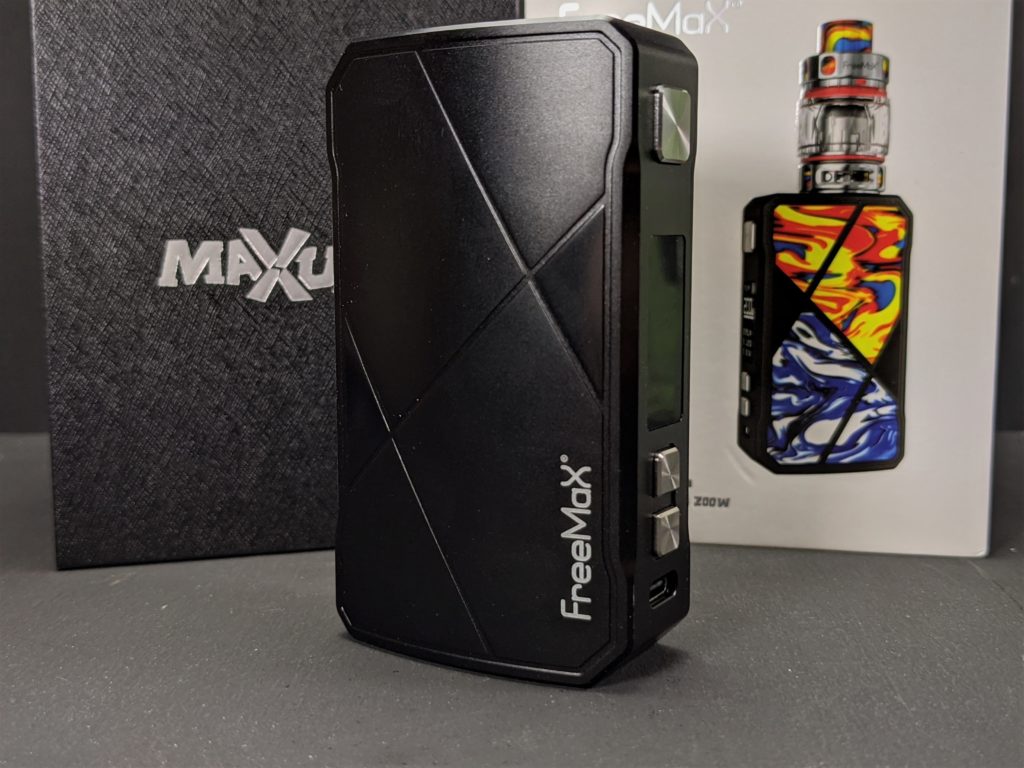
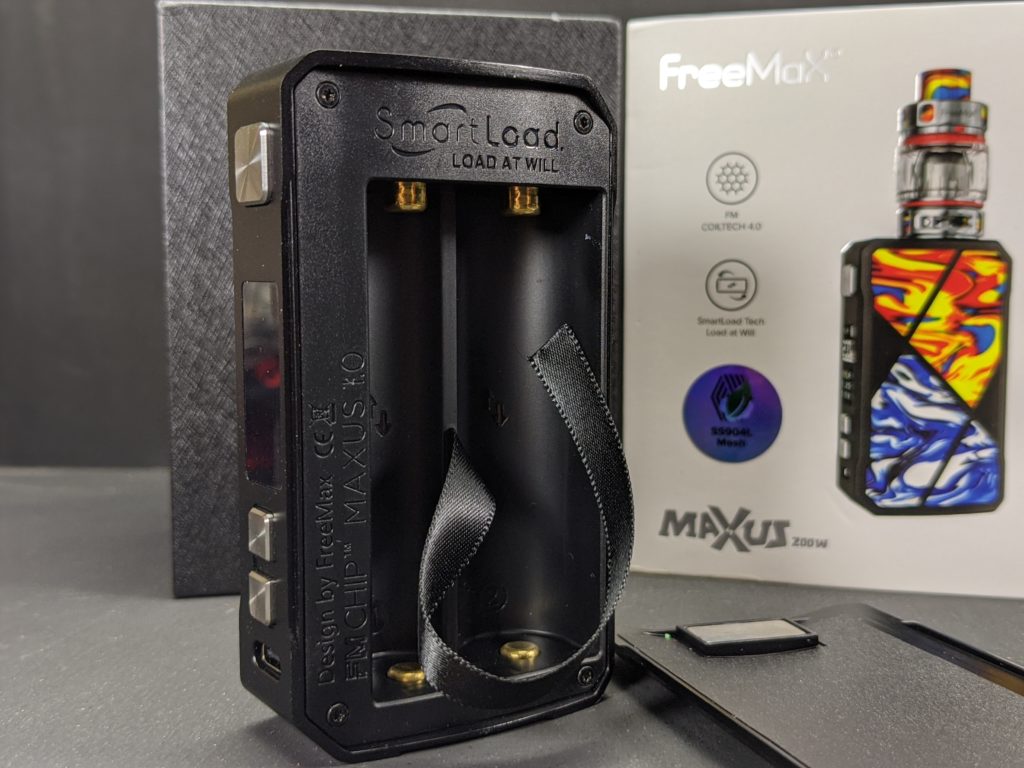
The mod that comes with the kit is called the Maxus. As I mentioned above it comes in either a 100W single battery or 200W dual battery configuration. The dual battery option supports dual 18650 batteries with a max output of 200W. One thing that’s really neat about the Maxus device is the way you load the batteries. It’s got what they call Smartload and when you pop off the back battery cover you don’t see the battery tray marked with positive and negative, instead it just states ‘Load at will’. So what does that mean? It means you can put your batteries in any way you want, in parallel, in series, one up one down or just one battery, it really doesn’t matter and after just one second it will read the batteries and display their status on the screen. Pretty amazing considering just a few years ago loading a battery the wrong way could kill a device and this goes well beyond just reverse polarity protection.
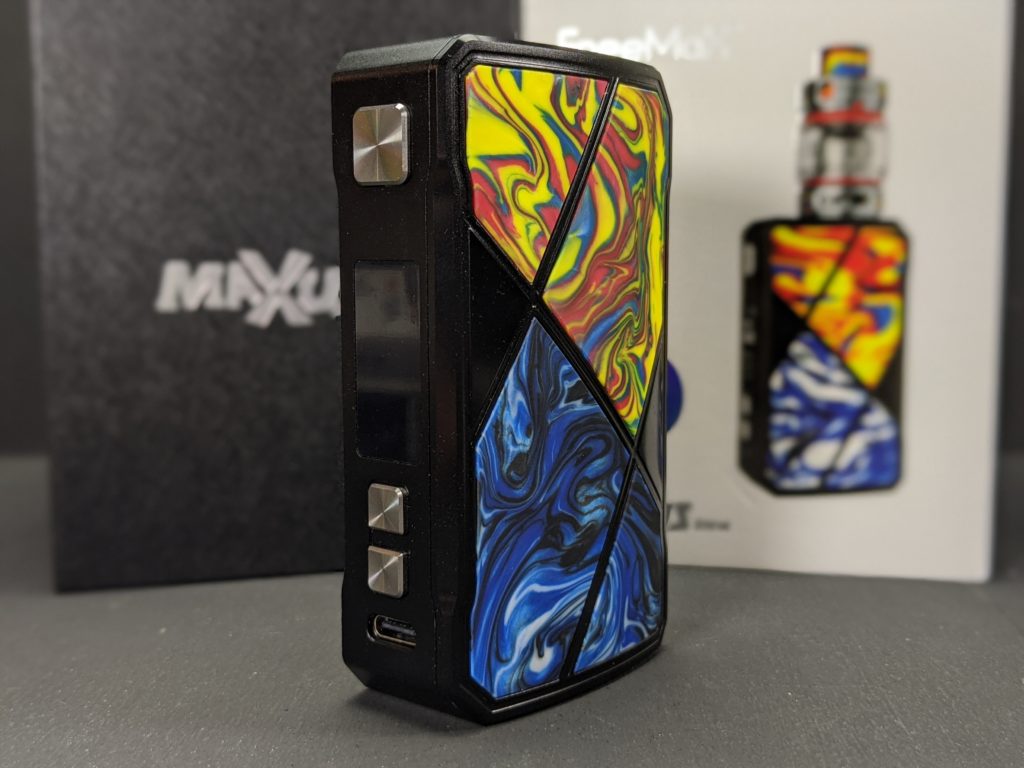
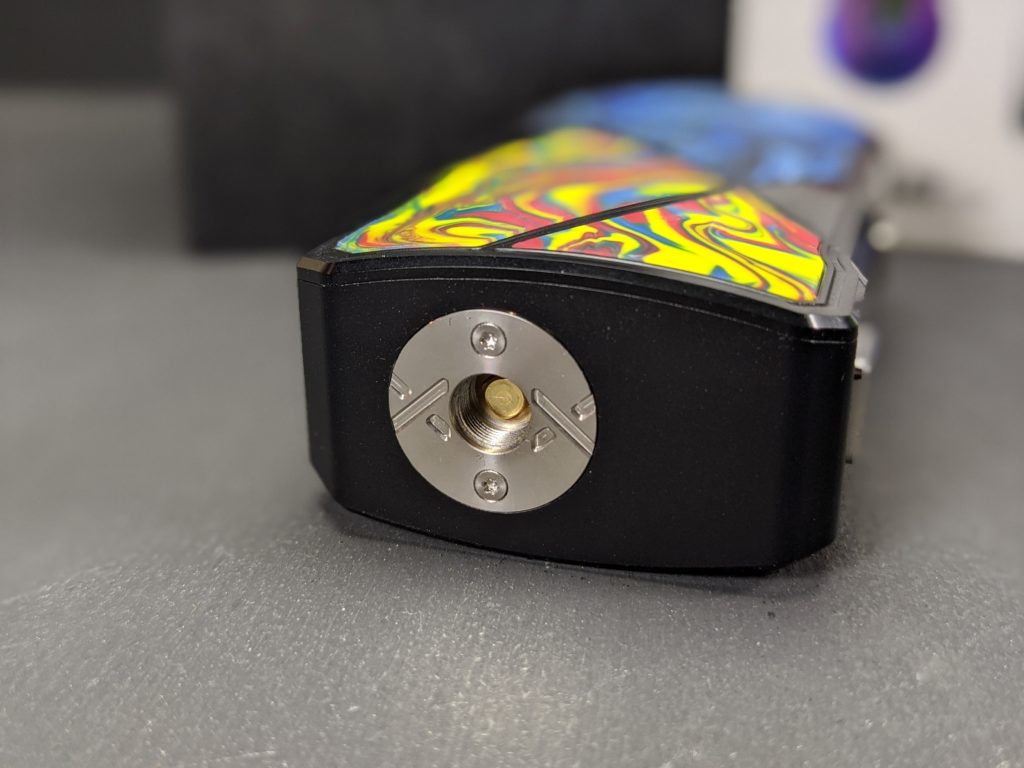
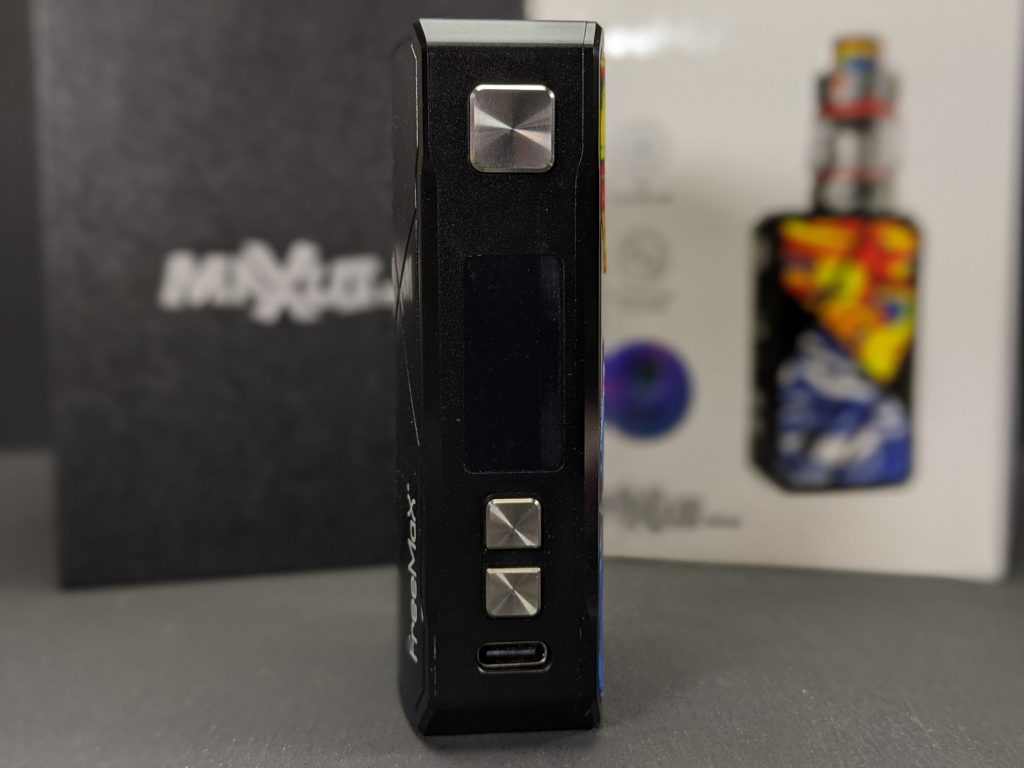
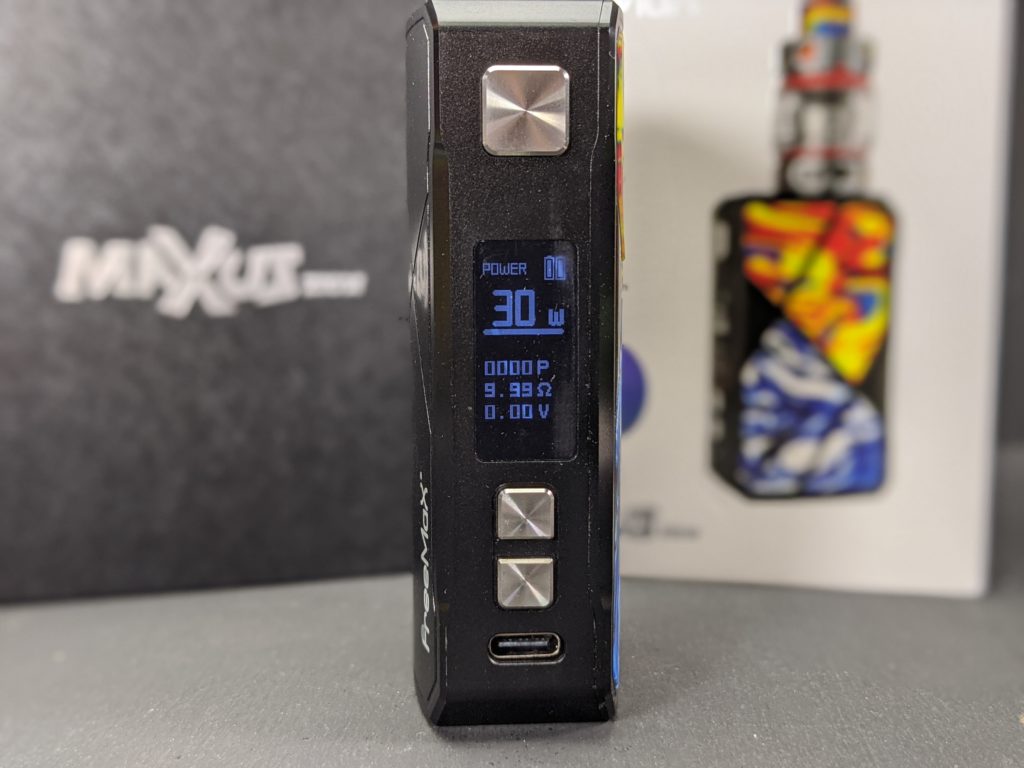
Unfortunately the innovations sort of stop there and the rest of the Maxus 200W is pretty standard fare. On one side it’s got an embedded resin panel that can be removed to access the battery tray. On the other side it’s just bare metal with a bit of a design cut into it. At the top of the device it’s got a stainless steel 510 connection that looks and feels solid and the device can support atomizers up to 28mm in diameter without overhang. Down the working face of the device it’s got a squarish metal fire button, a black and white OLED screen, some matching square metal adjustment buttons and a USB Type C port for charging. The device can charge at 5V/2A so it supports quick charge but obviously charge times will vary depending on the capacity of the batteries you’re using with it.
Using the device is also pretty standard and to turn it on and off it uses the usual five clicks of the fire button. The device has a smart coil detect function that can detect whether a TC coil or standard coil is attached and it adjusts the output accordingly. Three clicks will bring up a menu where you’ve get options for Mode, Set(Settings), Info and Exit. Mode allows you to choose from Power/VPC/Bypass/TC-TI/TC-SS/TC-NI and TCR. I personally never use temp control anymore so the only function I tend to use is Power mode but it’s nice they still offer them for other users. In settings you’ve got options to adjust the screen timeout, turn the coil test prompt on/off, reset the puff count or puff time, set Celsius or Fahrenheit or perform a full reset. Under info you can see an accurate battery reading, the firmware version, or the temperature. The device also includes a number of safety features such as a 10 second cutoff, over charge, open circuit, low resistance, short circuit, high-temp and low-voltage protection so no matter what this thing should remain safe.
The M Pro 2 tank and coils:
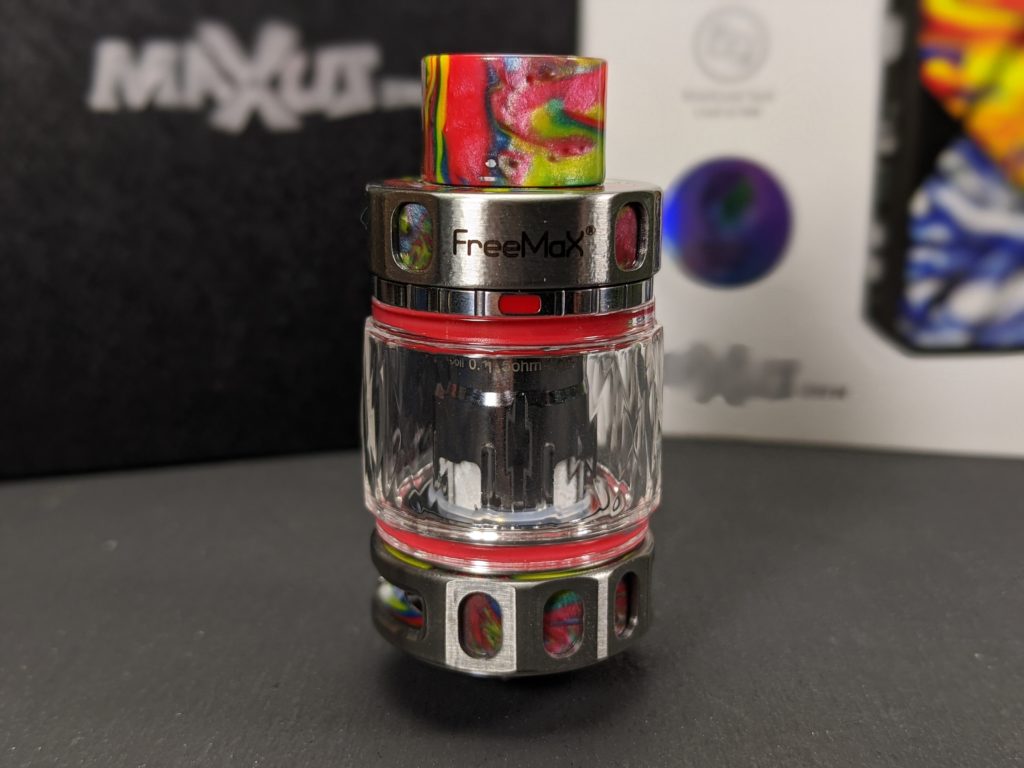
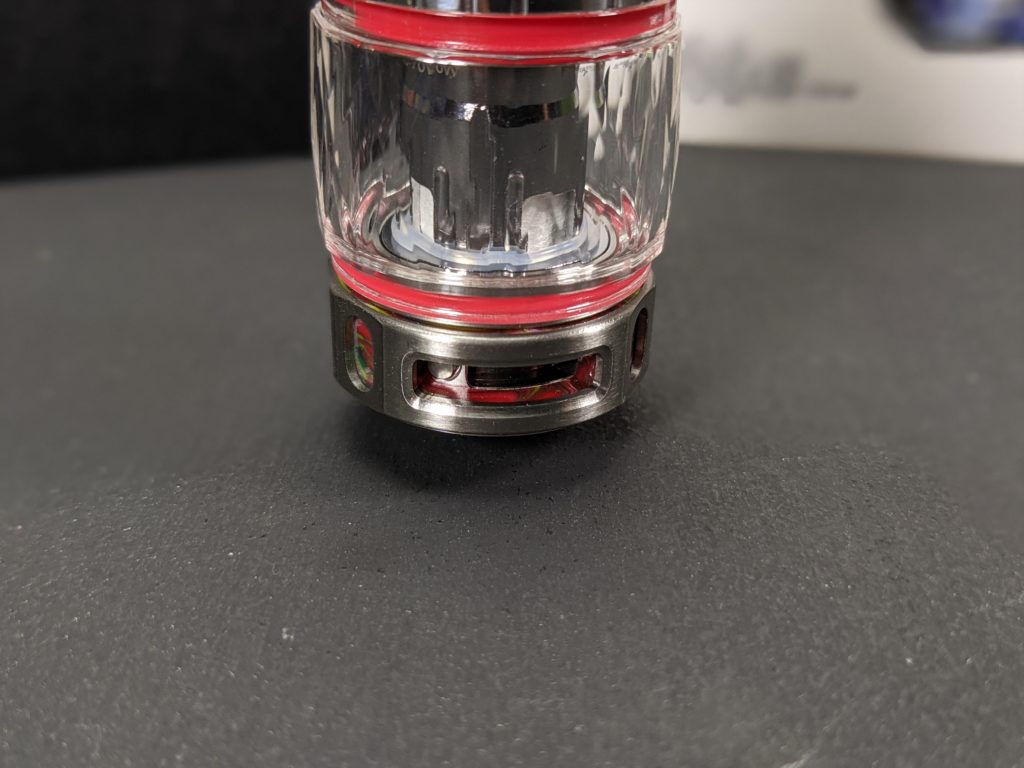
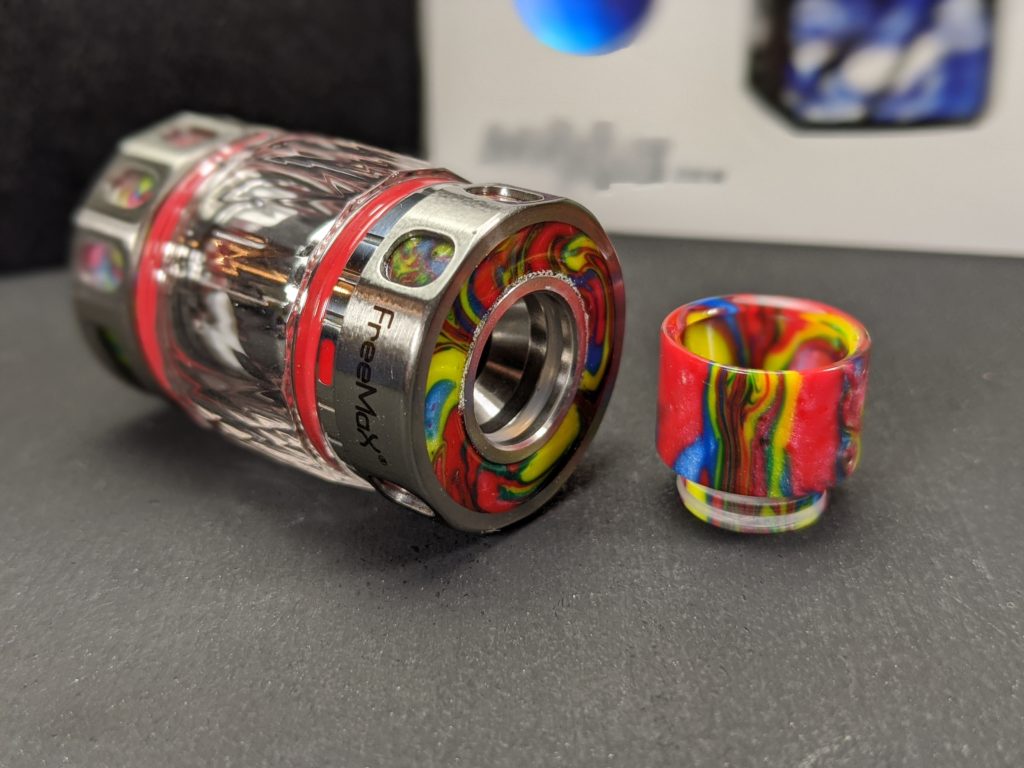
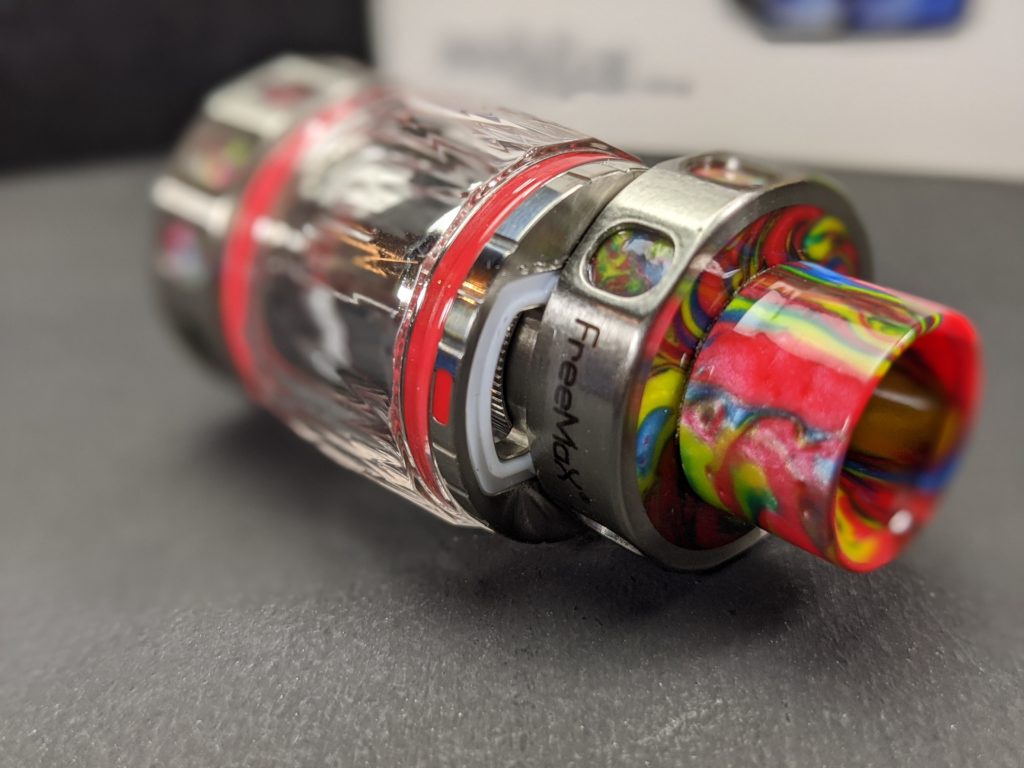
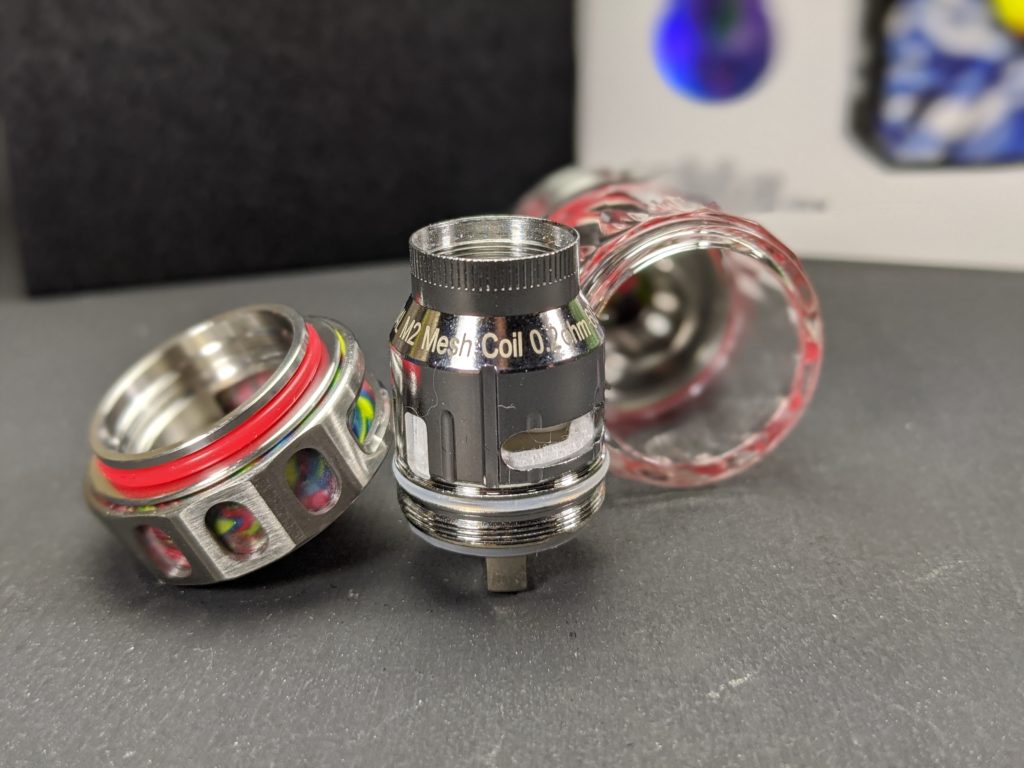
The tank that comes with the kit is called the M Pro 2 a predecessor to the M Pro which I believe was the worlds first sub ohm tank to offer dual, triple and quadruple mesh coils which itself was sort of the bigger brother of the original Fireluke. The tank comes with a crystal faceted tank that holds 5ml of liquid but the kit also includes a more standard glass which also holds 5ml. At the top it comes equipped with a resin 810 drip tip that matches the resin finish of the device. One thing that separates it from the original is now the resin is now caged in metal giving it a much more durable look. Airflow to the tank comes via two large cyclops style slots around the base that you can open and close to your liking. I’m going to suggest this be for direct lung users only as the coils and airflow on this thing really don’t support a tight mouth to lung draw.
Using the tank is a breeze and they’ve even improved the sliding top fill adding three metal ball bearings to help with opening and closing the tank but also to prevent it accidentally opening. To change the coils you need to drain the tank most of the way and unscrew the base of the tank. There you can unscrew the coil from the base and replace it with another one. This is where I have one of the few complaints with the device. I’m pretty sure it’s just cause I’ve been spoiled with the ease of use of plug and play coils that using the M Pro 2 kind of feels a bit dated. It’s still an extremely capable tank but without pnp coils it loses a bit of the convenience other modern tanks enjoy. I will say however with the tank using dual, triple or quadruple mesh coils this thing absolutely rips!
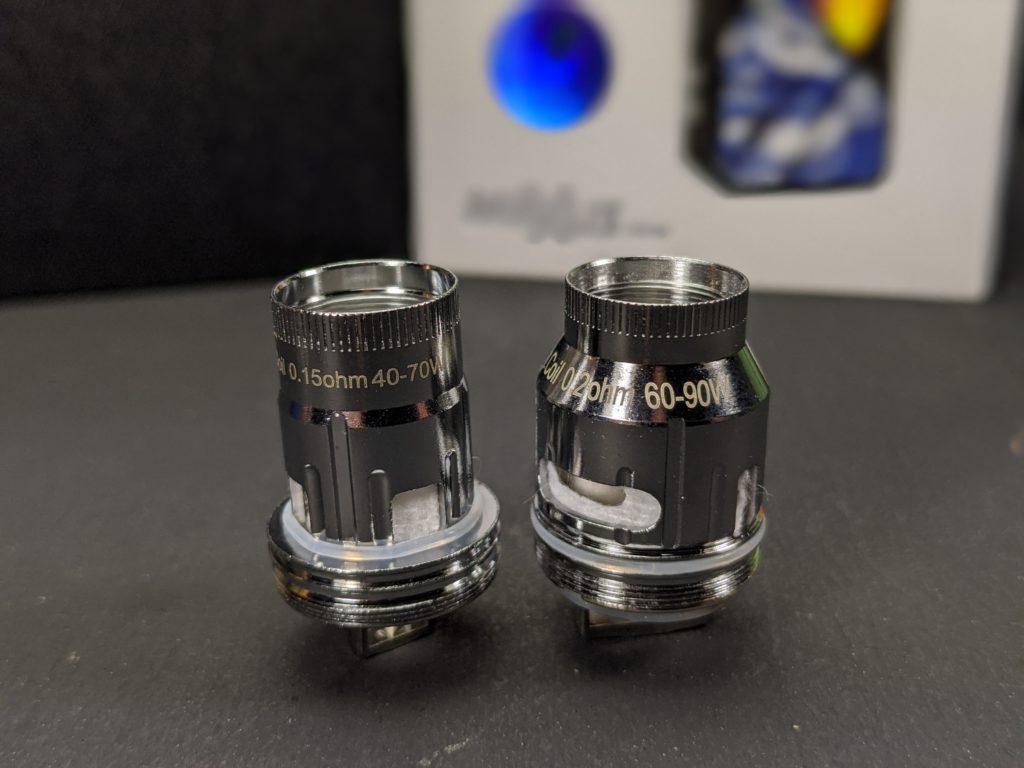
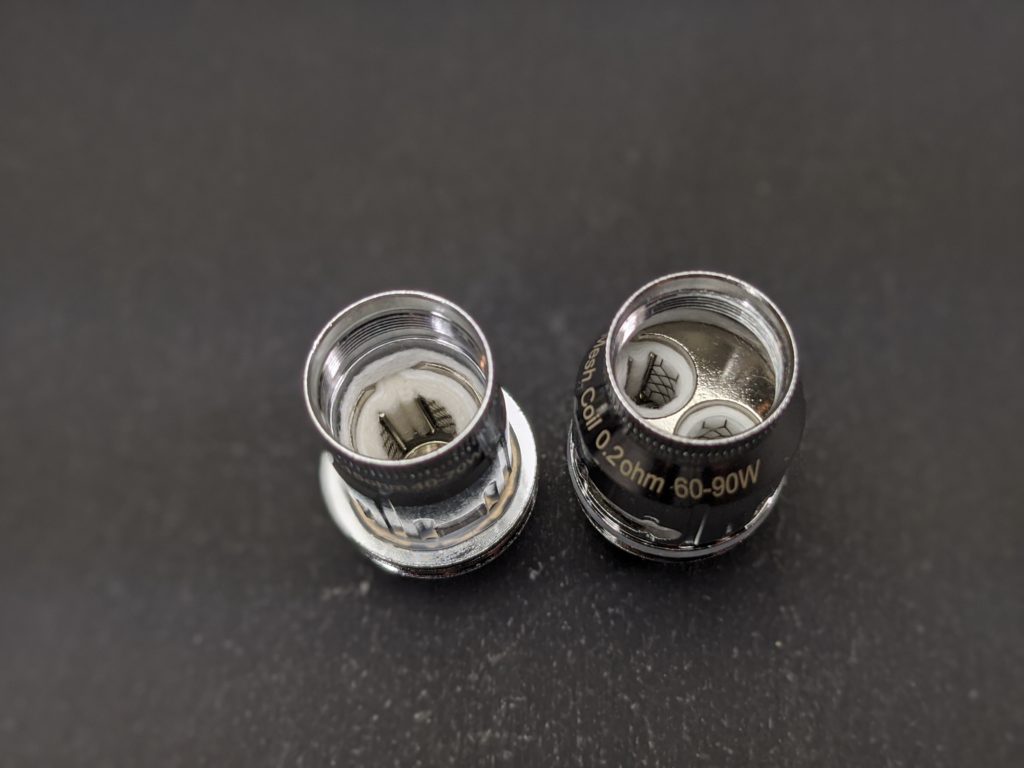
The kit comes with one 0.2ohm 904L M2(dual) mesh coil rated from 60-90W and a 0.15ohm 904L M1(single) mesh coil rated from 40-70W. Both coils are made with Freemax’ FM Coiltech 4.0 which uses Tea Fiber cotton for a more stable vape and better flavour. I prefer a cooler vape myself so I started with the M1 which at 45-50W gave me a nice full flavoured vape. It ran a touch warm but was really enjoyable. The M2 however I found was considerably warmer since it needed a bit more power to hit the sweet spot for me. I was running it around 75-80W but it got hot pretty quickly if I was chain vaping. Both coils put out solid flavour and it will really come down to personal preference but also power and juice consumption when you start adding in the extra coils.
Overall:
I really have almost nothing to complain about the the Maxus 200W Kit. Sure the M Pro 2 tank feels just the slightest bit dated due to the lack of pnp coils but overall it performs like a champ and the Maxus 200W mod pairs beautifully with it. The device and tank feel really solid and well made and with the features and functions it packs it leaves very little to be desired. I especially think the Smartload feature is neat and should be a standard feature in any device but to be fair it really doesn’t impact how the product performs. This one is definitely for the cloud chasing direct lung crowd and anyone who enjoyed the original M Pro or even the Fireluke will likely appreciate what this kit has to offer.

